
In this article:
Millionaire shortbread is the bar that makes every other cookie on the tray look like it is not trying. A crisp, buttery shortbread base, a thick layer of caramel that cuts like fudge, and a glossy cap of dark chocolate with a whisper of sea salt.
The name is the review. These bars taste expensive, the way a box from a good bakery tastes expensive, and they come out of a home oven with a saucepan, a square pan and one reliable number to cook to.
That number is the whole game. Caramel cooked to 236 degrees sets into clean slices that hold in a gift box, and this recipe is built around reaching it calmly, without corn syrup and without guesswork.
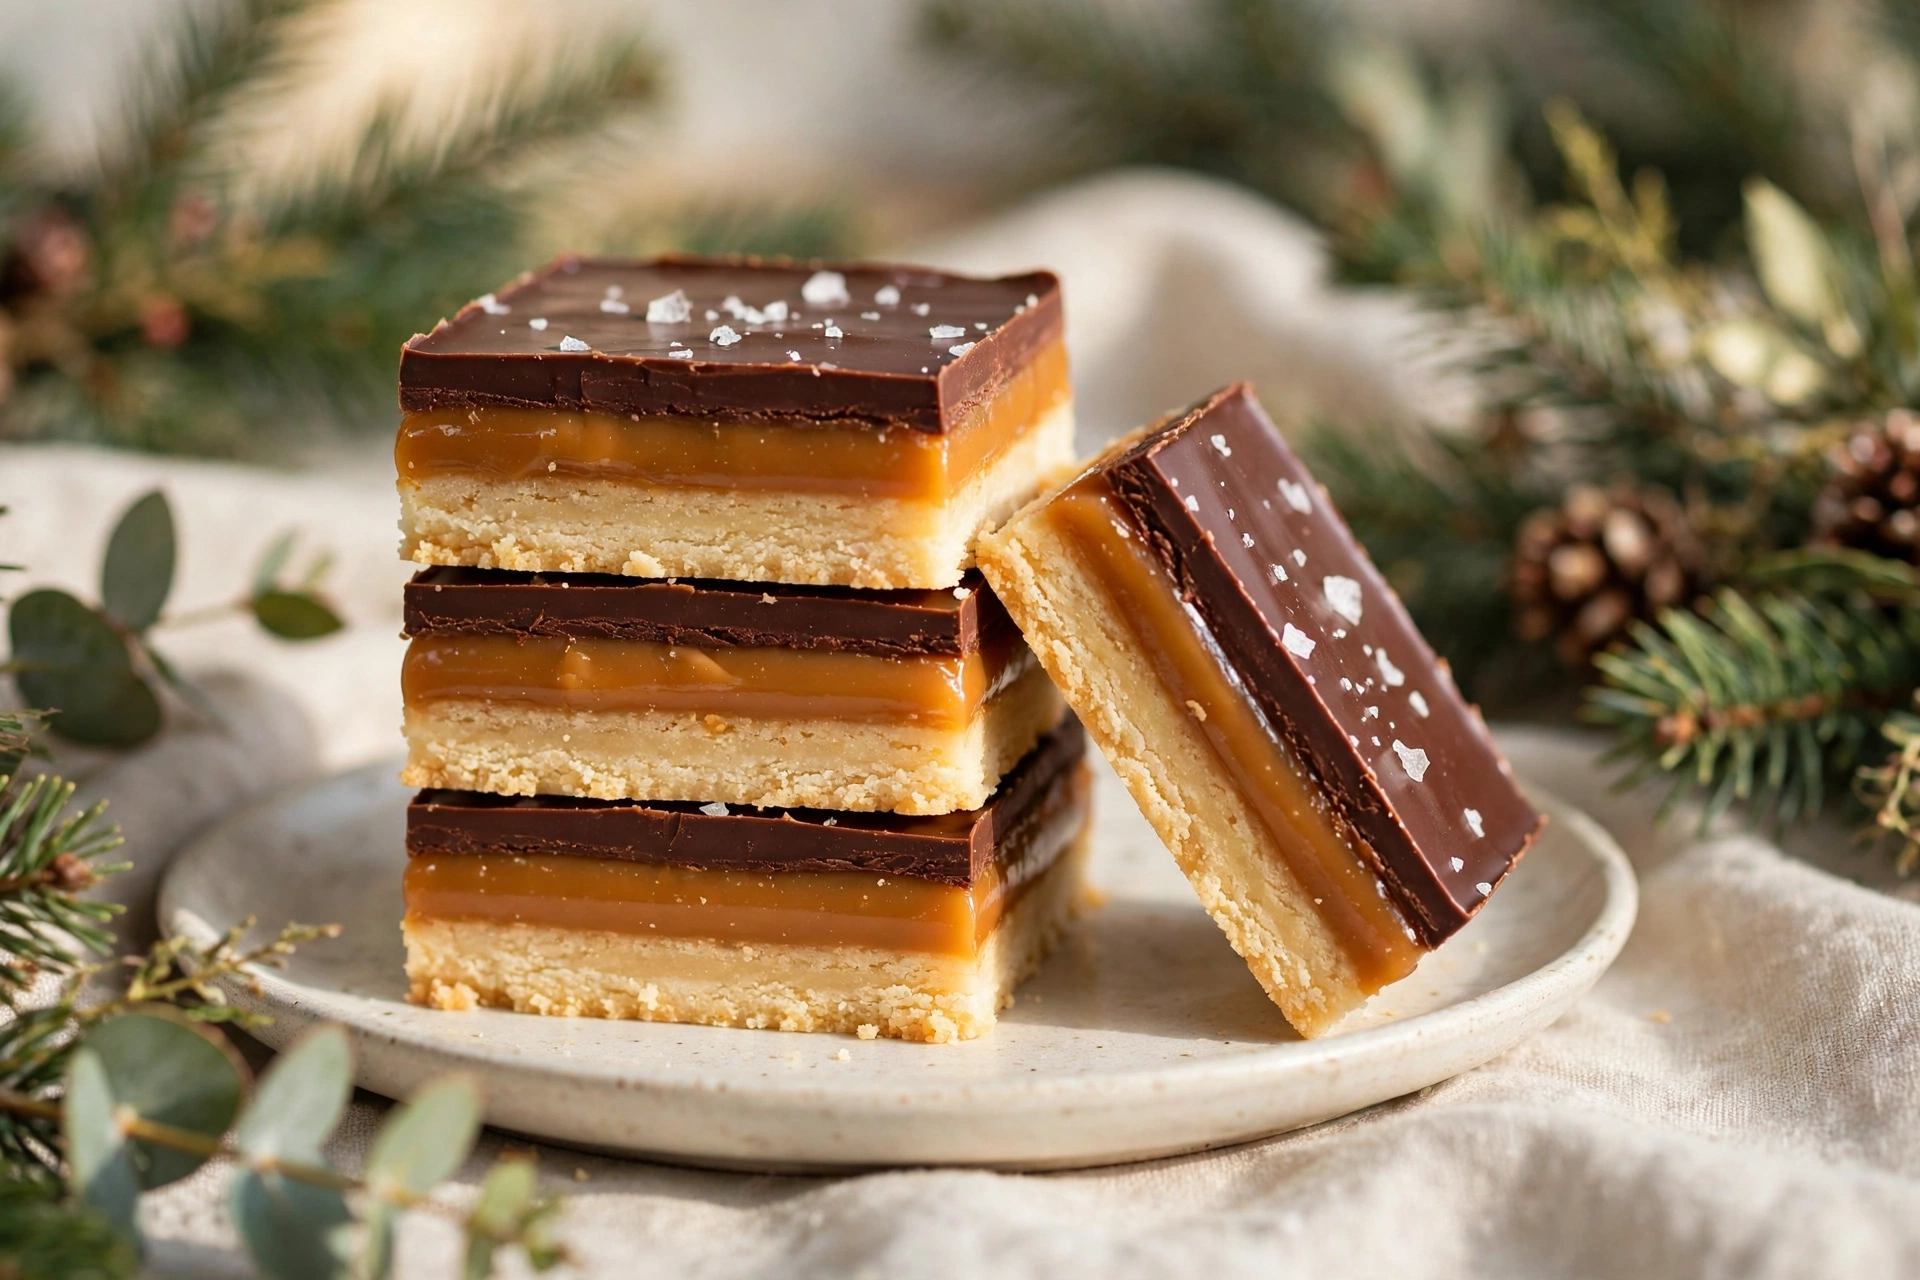
Three Layers, Three Textures
Each layer of a millionaire shortbread does one job, and the bar works because the three jobs contrast. The base is crisp and sandy, the caramel is dense and chewy, and the chocolate snaps cleanly under a bite.
The proportions matter as much as the textures. The caramel layer should read as the main event, roughly the same depth as the base, with the chocolate kept thin enough to crack rather than bend.
Flavor follows the same logic of contrast. The base is gently sweet and very buttery, the caramel brings brown sugar depth, and a darker chocolate on top keeps the whole bar from tipping into candy store sweetness.
A final scatter of flaky salt is not decoration. It sharpens the chocolate, reins in the caramel, and gives each bite the small bright finish that makes people reach for a second bar.
The bars travel like they were designed for it. Stacked in a tin with parchment between the layers, they survive a car ride, a mailbox and a week on a counter, which is more than most Christmas baking can claim.
The name is usually explained the simplest way: shortbread was once a working person’s biscuit, and dressing it in caramel and chocolate made a millionaire of it. Scottish bakers still argue about where the layered version first appeared, but everyone agrees on the point of it, which is richness without apology.
That richness is also why the bars satisfy in small portions. One bar with coffee is a complete dessert, and nobody at the table feels shortchanged when the tin comes around a second time.
The Shortbread Base That Holds Its Shape
Shortbread is one of the oldest biscuits in the world, and its rules were settled centuries ago in Scotland: flour, butter, a little sugar, no eggs and no leavening. The history of shortbread traces it from medieval twice baked bread rusks to the rich butter biscuit baked for holidays.
That leanness is exactly what a layered bar needs. A base with eggs or baking powder would puff and dome in the pan, and the caramel would pool in the low spots instead of spreading in an even sheet.
Melted butter is the modern convenience that makes this base foolproof. Stirred into the flour, it coats every grain evenly, presses into the pan like damp sand and bakes into a slab that is level, tender and firm.
Pressing is the step to take seriously. Work the crumbs into the corners, then press hard with the flat bottom of a measuring cup until the surface looks sealed and even, with no loose flour showing.
Bake the base only to pale gold at the edges. It will look slightly underdone in the center, and that is correct: a deeply browned base turns hard under the caramel and fights the knife later.
Caramel Cooked to a Number, Not a Guess
More millionaire shortbread fails at the caramel than at any other step, and the failure is always the same: a pretty sauce that never sets, poured with hope and sliced with regret.
The traditional fixes lean on condensed milk and time, simmering and stirring and judging doneness by color. Color lies. A caramel can look deep and ready ten degrees before it will actually hold a cut.
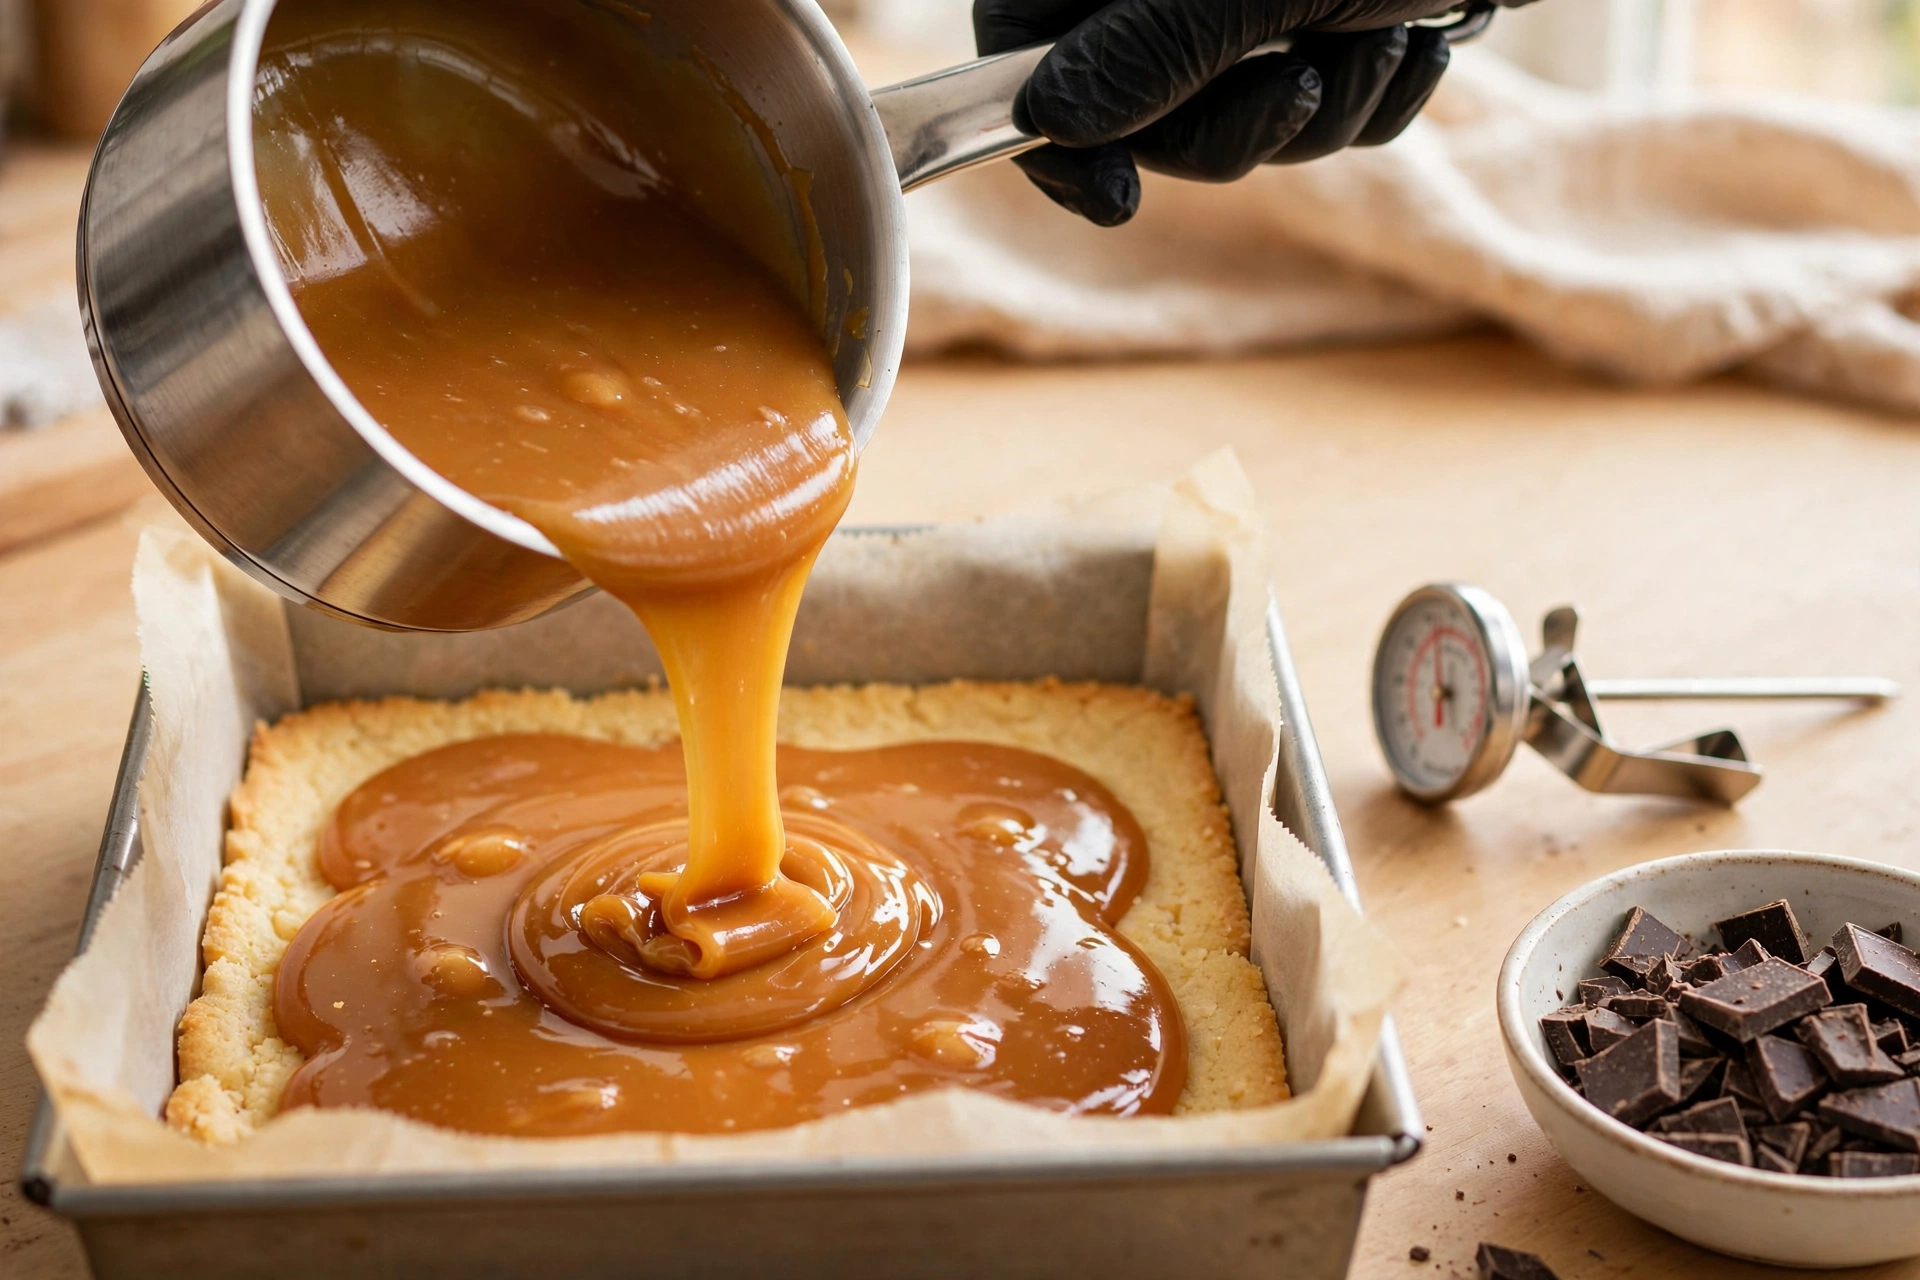
This recipe skips the guesswork by cooking to a number: 236 degrees, the soft ball stage, where the caramel sets firm enough to slice and soft enough to chew. A basic candy thermometer, clipped to the pan, tells the truth the whole way up.
No corn syrup is needed to get there. The condensed milk brings its own milk sugars and body, and steady stirring, especially into the corners of the pan, keeps the mixture smooth instead of scorched.
If you have no thermometer, the cold water test covers you. A spoonful of caramel dropped into ice water should gather into a soft ball that flattens when lifted out. It is a fine backup, but the thermometer is calmer.
The pan underneath matters more than cooks expect. A heavy saucepan with a light colored interior is the ideal tool: the heavy base spreads the heat so the milk sugars do not catch, and the pale surface lets you watch the color deepen as a second signal beside the thermometer.
Keep the heat at a steady medium and the spoon moving in a slow figure eight. Caramel scorches in the still corners first, and the corner sweep is the difference between a smooth, clean tasting layer and one with bitter flecks through it.
Everything You Need for the Pan
The list is short and entirely ordinary, which is part of the bar’s charm. The one choice worth making deliberately is the chocolate: a mix of dark and milk melts smoother and tastes rounder than either one alone.
- 1 1/2 cups all-purpose flour (180 grams)
- 1/4 cup granulated sugar
- 1/4 teaspoon fine salt
- 10 tablespoons unsalted butter, melted (140 grams), for the base
- 1/2 cup unsalted butter (113 grams), for the caramel
- 1 cup packed light brown sugar
- 1 can (14 ounces) sweetened condensed milk
- 1/2 teaspoon fine salt, for the caramel
- 1 teaspoon vanilla extract
- 7 ounces dark chocolate (60 percent), chopped (200 grams)
- 3 1/2 ounces milk chocolate, chopped (100 grams)
- 1 teaspoon coconut oil or neutral oil (optional, for shine)
- Flaky sea salt, for the top
Chop the chocolate fairly fine and evenly, so it melts at the same pace. Large chunks in a bowl of small ones finish at different times, and the small ones can scorch while the big ones are still solid.
Salted butter can stand in for unsalted in both layers. If you use it, cut the added fine salt in half in the base and the caramel, and keep the flaky salt on top exactly as written.
Bake, Pour, Set and Slice, Step by Step
- Heat the oven to 325 degrees. Line an 8 inch square pan with a parchment sling, leaving overhang on two sides for lifting the slab out later.
- Stir the flour, granulated sugar and 1/4 teaspoon salt in a bowl. Pour in the melted butter and mix until the crumbs look evenly damp, like wet sand.
- Tip the crumbs into the pan and press them firmly and evenly over the bottom and into the corners with the flat bottom of a measuring cup. Prick the surface lightly with a fork.
- Bake for 22 to 25 minutes, until the edges are pale gold and the center looks matte. Cool the base in the pan for 15 minutes.
- For the caramel, melt the 1/2 cup butter with the brown sugar and 1/2 teaspoon salt in a heavy saucepan over medium heat, stirring until the sugar dissolves and the mixture is smooth.
- Pour in the condensed milk and stir to combine. Bring the mixture to a gentle boil, stirring constantly and reaching into the corners of the pan so nothing catches.
- Keep cooking and stirring for 5 to 7 minutes, until the caramel thickens, darkens slightly, leaves a trail when the spoon crosses the bottom of the pan, and reads 236 degrees on a candy thermometer.
- Take the pan off the heat, stir in the vanilla, and pour the caramel over the cooled base. Tilt the pan so the caramel reaches every corner, then leave it for about 1 hour, until the surface looks matte and feels firm under a light fingertip.
- Melt the dark and milk chocolate with the oil in a heatproof bowl set over barely simmering water, stirring until smooth and glossy. A microwave works too, in 30 second bursts.
- Pour the chocolate over the set caramel and spread it to the edges with an offset spatula. Scatter a pinch of flaky salt over the top while it is still wet.
- Chill the pan for 1 to 2 hours, until the chocolate is just set and still glossy. Do not leave it overnight before slicing; very cold chocolate cracks under the knife.
- Lift the slab out by the parchment and cut it into 16 bars with a hot, dry knife, wiping the blade clean between cuts.
Clean Cuts With a Hot Knife
The difference between bakery bars and homemade looking ones is almost entirely the slicing. Chocolate shatters, caramel drags and shortbread crumbles when a cold, dirty knife is pushed straight down through all three layers.
Heat fixes the chocolate. Run a long, sharp knife under hot water, dry it completely, and let the warm blade melt its way through the cap in one slow press rather than a sawing motion.
Wiping fixes the caramel. After every cut, wipe the blade on a warm, damp cloth. Caramel dragged across a fresh chocolate surface leaves the streaks that make a neat bar look smudged.
Temperature fixes the rest. If the slab has chilled long and hard, give it 10 minutes on the counter before slicing, so the chocolate yields instead of cracking and the base cuts instead of shattering.
Mark before you commit. Score the chocolate lightly into a four by four grid first, then cut along the scored lines. Sixteen even bars pack tightly into a tin, and tight packing is what keeps gift boxes looking generous.
For a party tray, take the grid the other way: cut the slab into 32 slim fingers instead of 16 bars. The bite size format suits a cookie table where guests are sampling everything, and the long shape shows off the three layers beautifully from the side.
Packed for Two Weeks of Giving
Few Christmas recipes respect a busy December like this one. The bars keep for 2 weeks in the refrigerator in an airtight container, layered with parchment, and they freeze for up to 2 months without losing their snap or their shine.
Let frozen bars thaw in the container overnight in the refrigerator, then give them 30 minutes at room temperature before serving. That short rest brings the caramel back to chewy and the chocolate back to glossy.
For boxes and tins, pack the bars cold and close together, with parchment between the layers so the chocolate tops stay clean. Sixteen bars fill a small tin perfectly, which makes the math of a gifting weekend very simple.
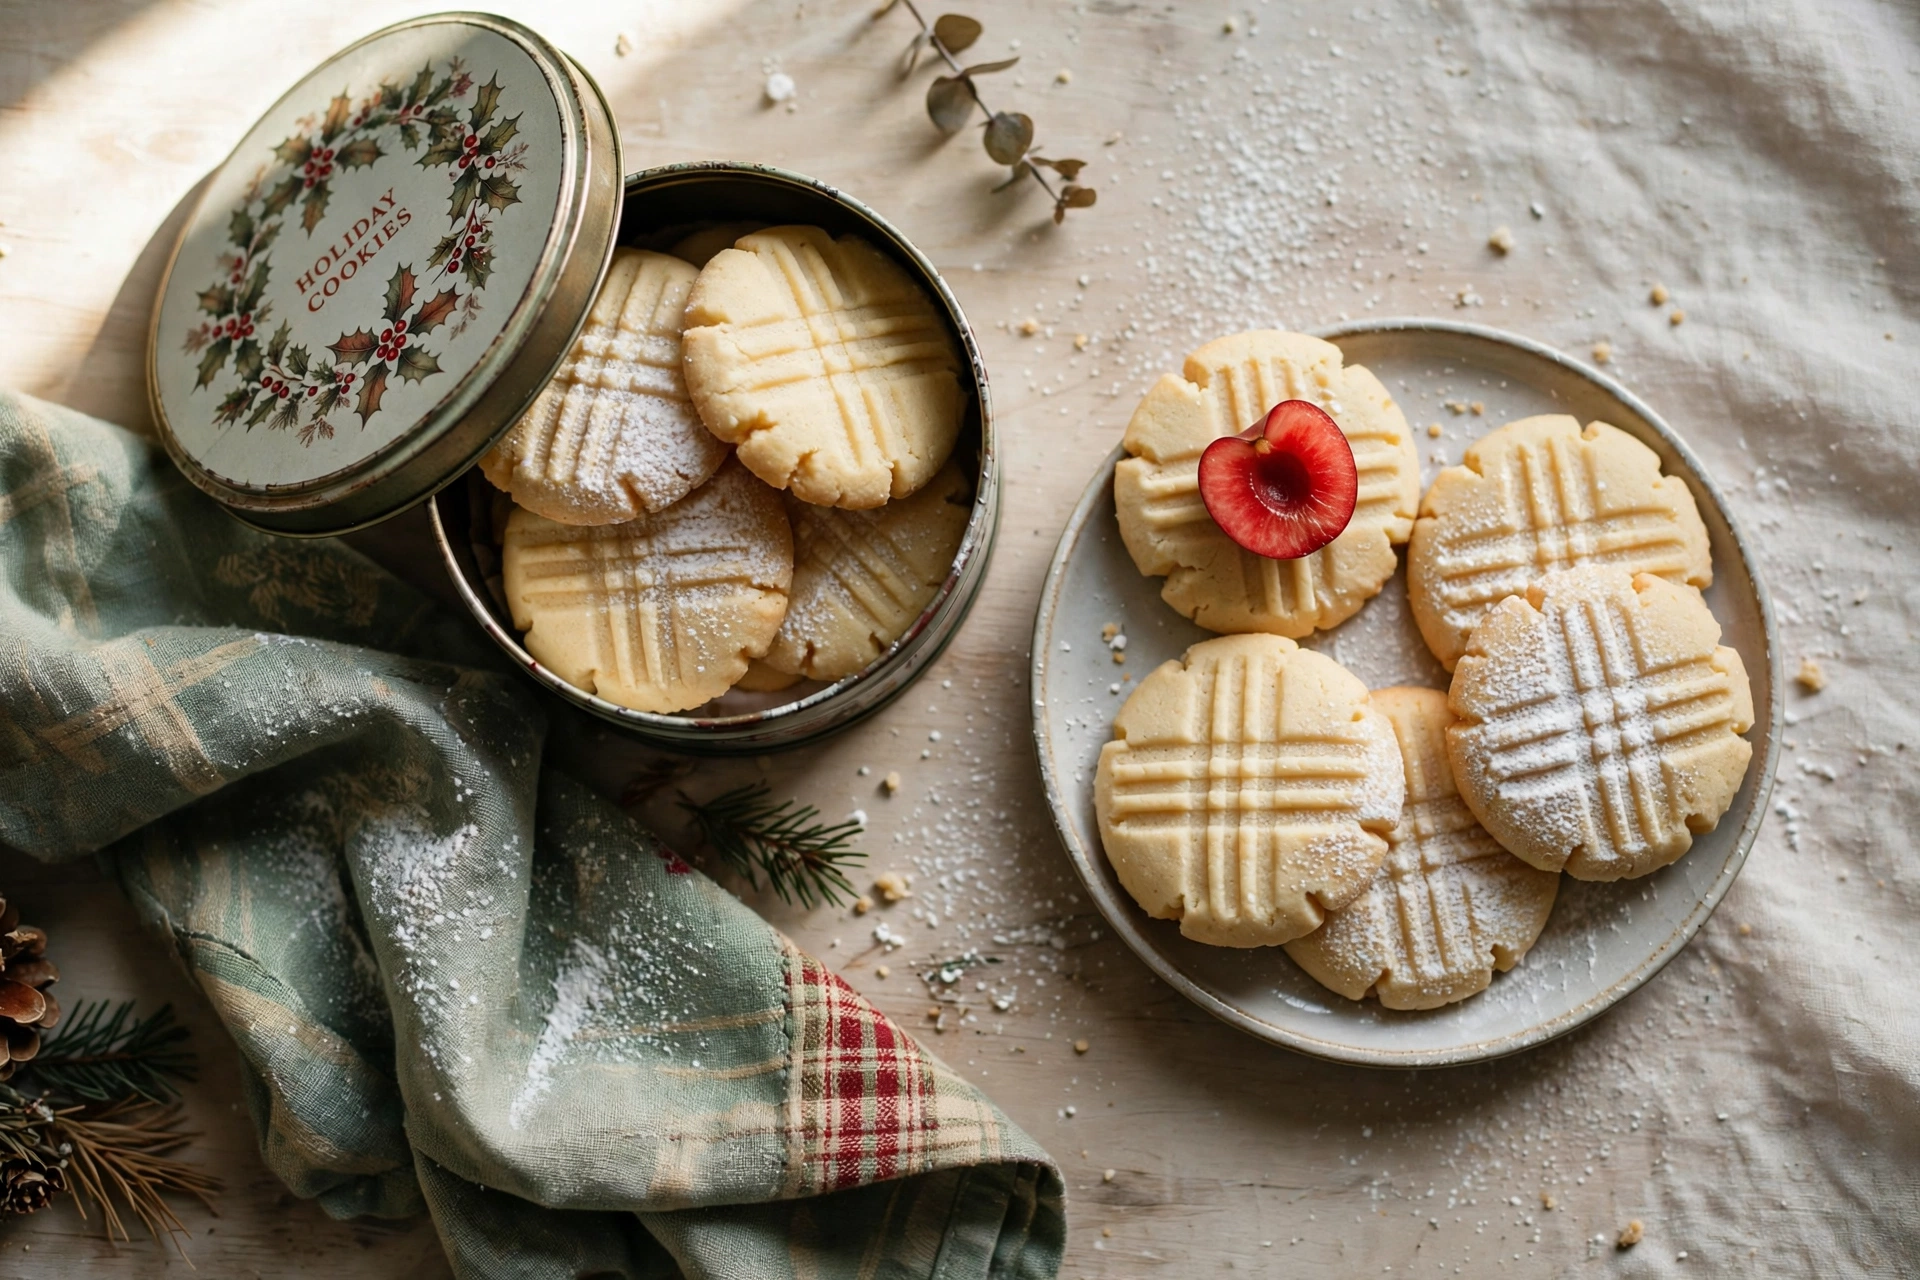
They sit happily in a mixed box beside the site’s other keepers: a batch of whipped shortbread cookies, some cranberry pistachio shortbread for color, and a few snowball cookies rolled in fresh sugar.
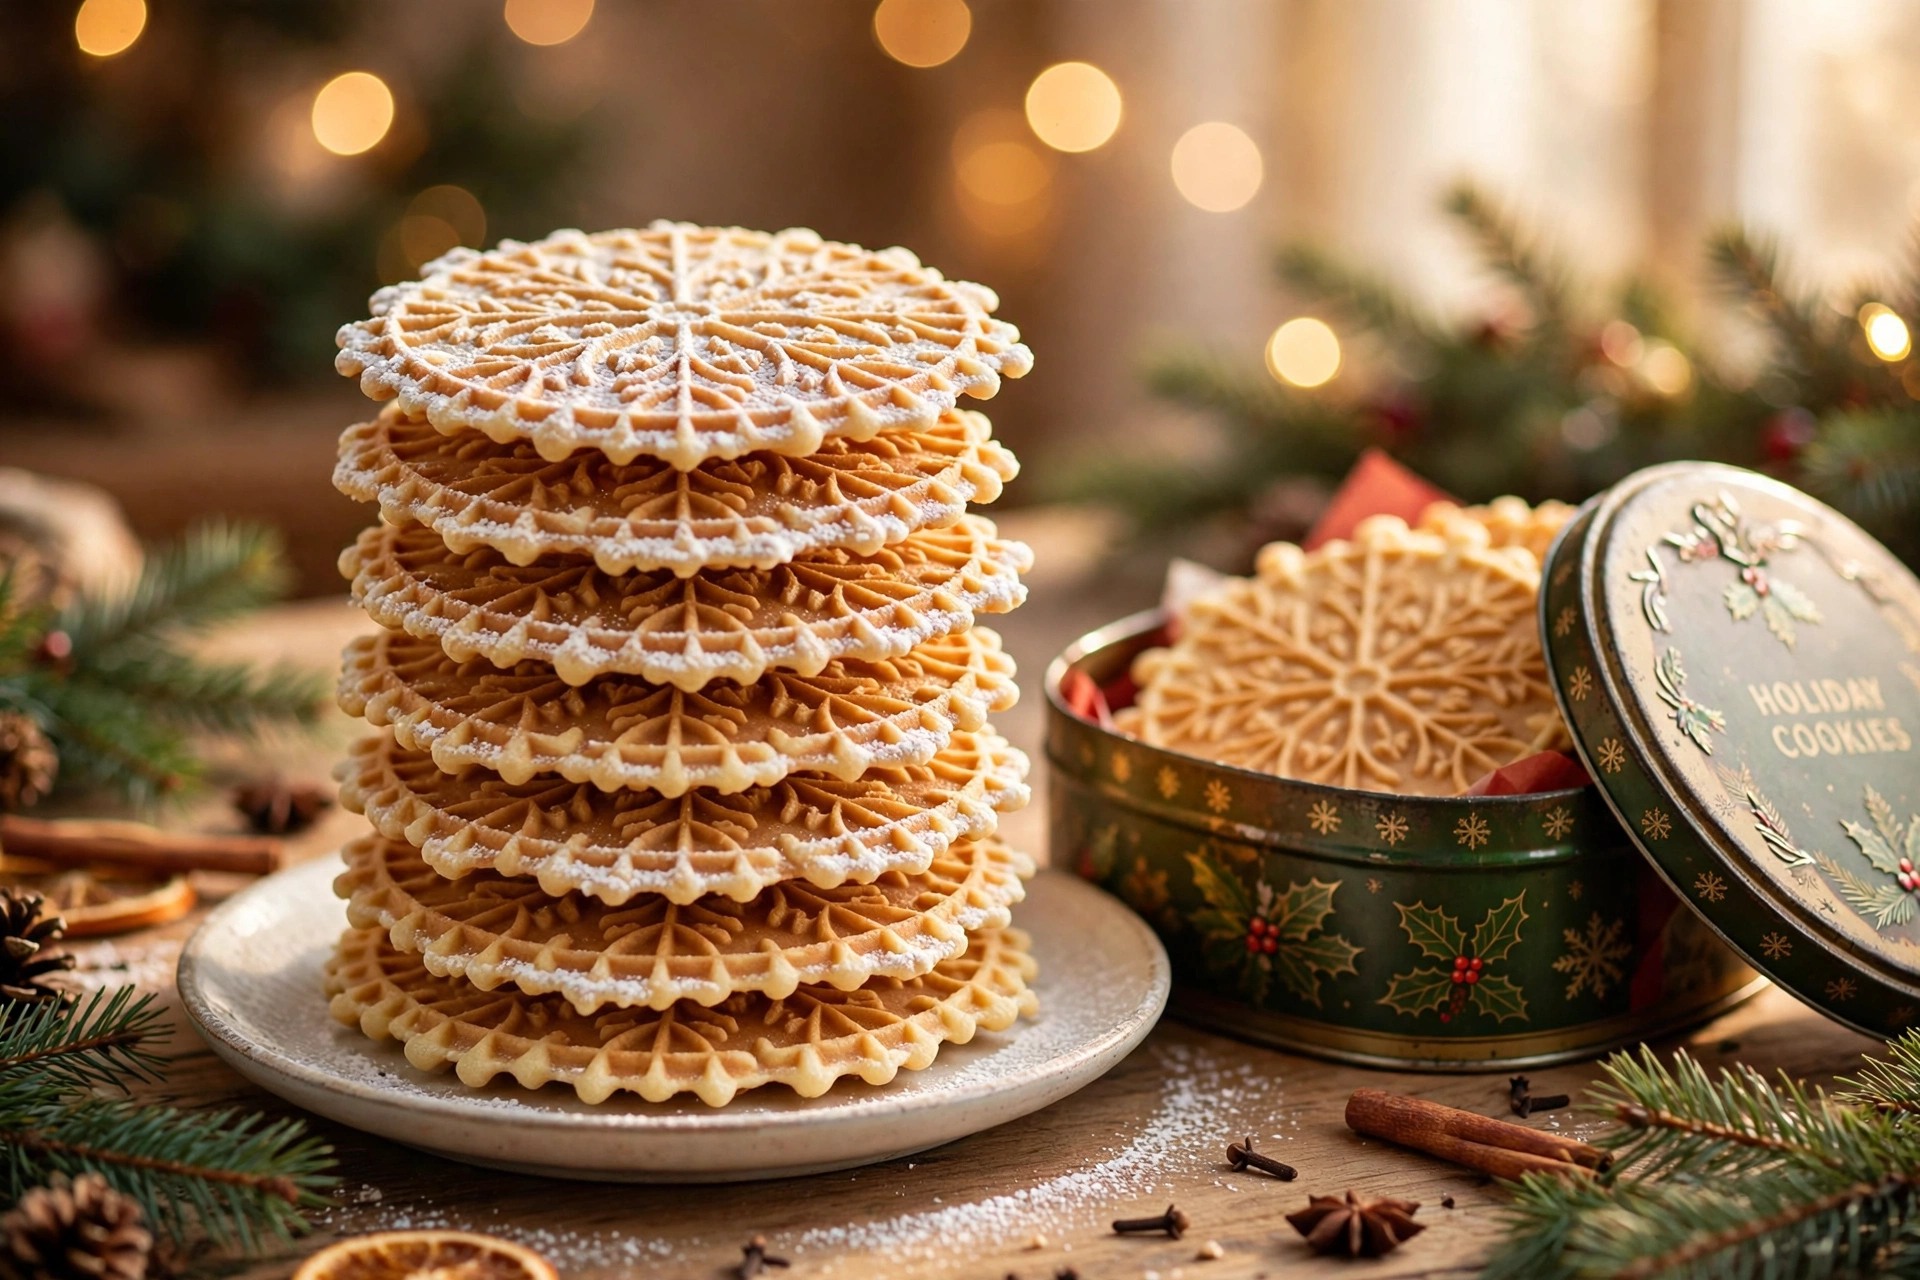
Add a tray of pizzelle for the traditionalists and the box covers every taste at the table. Make the millionaire shortbread first, since it keeps the longest, and let the fresher bakes follow in the days after.
Millionaire Shortbread Questions, Answered
Why did my caramel stay soft and ooze out of the bars?
It did not cook far enough. Caramel for these bars must reach 236 degrees, the soft ball stage; below that it stays a sauce no matter how long it chills. If your bars are already assembled, serve them cold in small squares. Next time, clip on a thermometer and stir into the corners of the pan as it climbs.
Can I make the caramel without a thermometer?
Yes, with the cold water test. Drop a spoonful of the boiling caramel into a glass of ice water; it is ready when it gathers into a soft ball that flattens when you lift it out. The caramel should also leave a clear trail when a spoon crosses the bottom of the pan. Both signs together are reliable, though a thermometer is calmer.
Why did my chocolate crack when I sliced the bars?
The slab was too cold. Chocolate that has chilled for many hours turns brittle and shatters under a knife. Let the slab stand at room temperature for 10 minutes, then slice with a long knife warmed under hot water and dried, wiping the blade clean between every cut.
How long do millionaire shortbread bars keep?
Two weeks in the refrigerator in an airtight container, with parchment between the layers, and up to 2 months in the freezer. Give refrigerated bars a few minutes on the counter before serving so the caramel softens to chewy, and let frozen bars thaw in the container overnight, then rest 30 minutes at room temperature.
Can I use only dark chocolate or only milk chocolate?
Either works on its own. All dark chocolate gives a firmer, more bittersweet cap that many adults prefer, while all milk chocolate is sweeter and softer, and sets a little less firmly. The blend in the recipe melts the smoothest and tastes the roundest, which is why it is the version that goes into gift boxes.