
In this article:
- The Melt Is the Whole Design
- A Base That Stays Round and Soft
- The Icing Has to Behave Like Snow
- Melting Snowman Cookies Ingredients
- How to Make Melting Snowman Cookies, Step by Step
- Faces Without a Piping Bag
- A Decorating Job Children Can Actually Do
- Variations for the Next Tray
- Storage, Travel and the One Layer Rule
- The Cookie That Makes the Tray
- Melting Snowman Cookies Questions
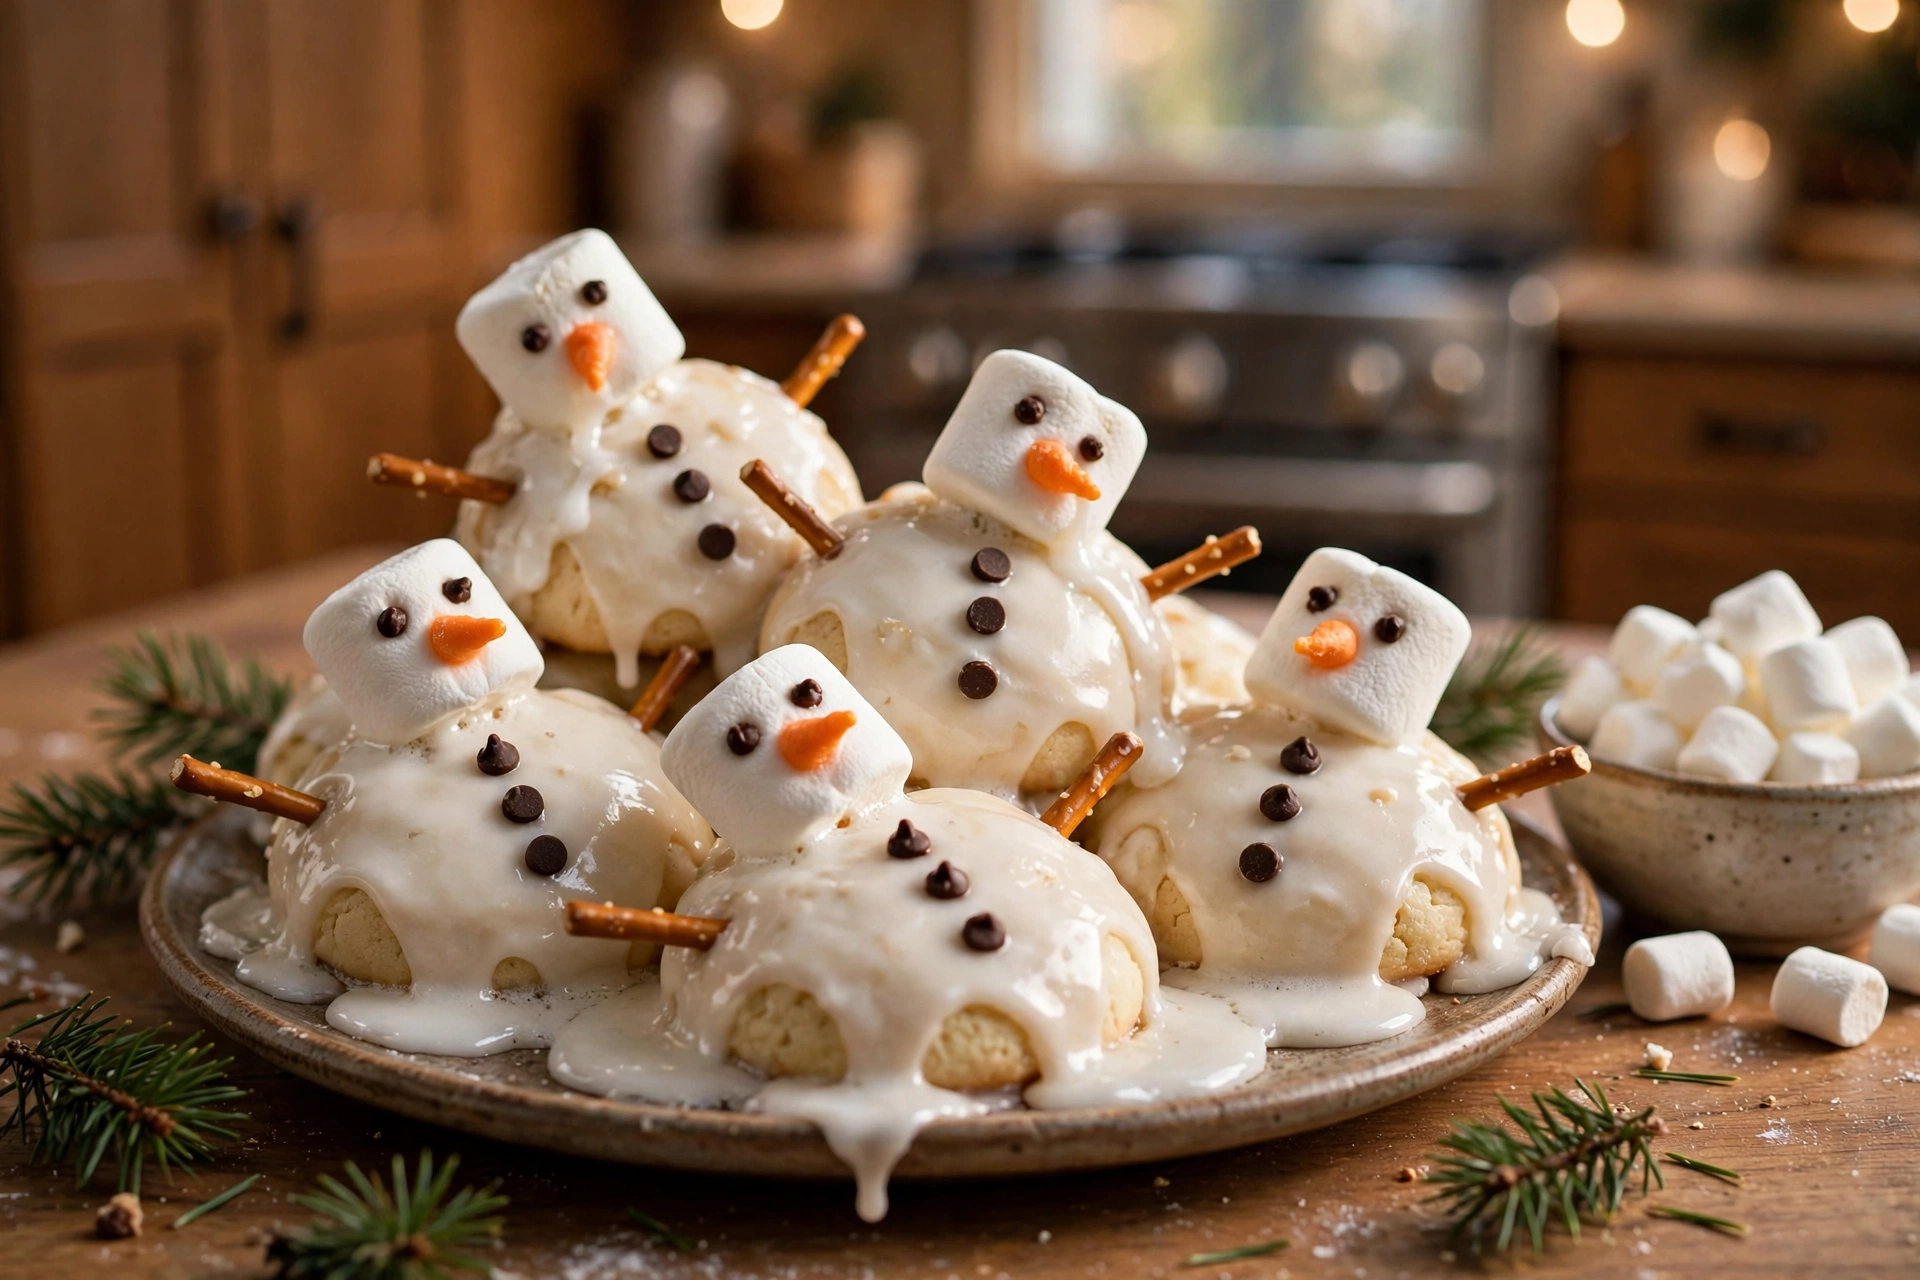
Melting snowman cookies are soft, round sugar cookies flooded with a glossy white icing puddle, each one carrying a marshmallow head that has tipped sideways, as if the snowman gave up in the winter sun.
They are the funniest cookie on the Christmas tray, and the joke is built into the method. The icing is supposed to be uneven, the buttons are allowed to sit crooked, and a head that slides a little is not a mistake; it is the character.
This version makes 20 cookies from a dough that refuses to spread, with a simple icing of powdered sugar, milk and corn syrup. No royal icing, no meringue powder, and no piping bag anywhere in the process.
The Melt Is the Whole Design
Melting snowman cookies succeed because they forgive. Most decorated cookies punish a shaky hand; these reward it, since a puddle that runs a little further on one cookie just reads as a snowman melting faster than his neighbor.
The proportions carry the humor. A cookie of 3 inches (7.5 cm) against a marshmallow half gives a head that looks slightly too heavy for the body, which is exactly the silhouette that makes people laugh before they take a bite.
Under the decoration sits a genuinely good sugar cookie: soft in the center, lightly golden at the edge, flavored with vanilla. The icing adds a clean sweetness and a faint shine from the corn syrup, like wet snow in afternoon light.
Everything is placed while the icing is wet, and then the cookies rest untouched for 1 hour. That drying hour is the only discipline the recipe demands, and it is what lets the finished tray travel without the heads migrating.
The yield is sized for real life: 20 cookies fill a standard platter with a little overlap, or two gift tins with room for a sturdier cookie underneath. Doubling the dough works without any adjustment beyond a second chilling bowl, and the decorating bowls scale by eye rather than by measure. One last note from our test trays: if the icing cracks a little as it dries, that is part of the melt, not a flaw. A tiny crack reads as a crease in real melting snow, and the snowmen honestly look better for it.
A Base That Stays Round and Soft
A puddle needs a stage, so this dough is engineered against spreading. The tablespoon of cornstarch, 1 tablespoon (8 g), softens the crumb and helps the edges hold, while the modest 1/2 teaspoon (2 g) of baking powder lifts the center just enough.
Chilling is the second lock. Thirty minutes in the refrigerator firms the butter, and cold butter melts slowly in the oven, giving the flour structure time to set before the fat can run. Warm dough is the single cause of almost every oval snowman base.
Measure the flour by spooning and leveling. A packed cup can add 2 tablespoons (16 g) of extra flour, enough to turn a soft cookie dry and cracked, and cracks in the base show through the icing like fault lines.
Bake until the edges look set and the tops stay pale, 9 to 11 minutes. A golden top tints the icing as it soaks in, and the pale stage keeps the snow white. One kitchen rule while the dough is out: nobody tastes it raw, as the FDA explains in its guidance on raw dough and batter; the decorated cookie is worth the short wait.
The Icing Has to Behave Like Snow
The icing is a study in one consistency. Too thick and it stands in peaks like meringue; too thin and it runs off the cookie and takes the face with it. The target is a ribbon that holds for about 3 seconds before melting back into the bowl.
Corn syrup is the quiet ingredient. One tablespoon (15 ml) gives the dried puddle a soft gloss and a skin that crusts without going chalky, so the snow looks wet even when it is fully set and safe to stack.
Work in a shallow, wide bowl if you can. The spoon needs room to load a full tablespoon, and a deep bowl makes the nudge and drip motion clumsy. Keep a damp towel over the bowl between cookies; the surface skins quickly in a warm kitchen.
Spoon the icing into the center and push it outward unevenly, stopping short of the edge in most places and letting one drip fall over the side on purpose. A perfect circle looks like a fried egg; an imperfect puddle looks like weather.
Melting Snowman Cookies Ingredients
- 3/4 cup (170 g) unsalted butter, softened
- 3/4 cup (150 g) granulated sugar
- 1 large egg (50 g), at room temperature
- 2 teaspoons (10 ml) vanilla extract
- 2 1/4 cups (280 g) all-purpose flour, spooned and leveled
- 1 tablespoon (8 g) cornstarch
- 1/2 teaspoon (2 g) baking powder
- 1/4 teaspoon (1.5 g) fine sea salt
- 2 cups (240 g) powdered sugar, for the icing
- 3 tablespoons (45 ml) milk, plus more by the teaspoon
- 1 tablespoon (15 ml) light corn syrup, for the icing shine
- 10 large marshmallows (about 100 g), halved crosswise
- 1/4 cup (44 g) mini chocolate chips, for eyes and buttons
- 20 orange sprinkles or tiny orange candies, for the noses
- 40 thin pretzel stick pieces, about 1 inch (2.5 cm) each, for the arms
The marshmallows are halved crosswise, so each cookie gets a half as its head: the cut side sits flat in the icing and the domed side becomes the top of the head. Twenty cookies need only ten marshmallows, which leaves the bag open for hot chocolate duty.
How to Make Melting Snowman Cookies, Step by Step
- Beat the butter and the granulated sugar for 2 minutes, until pale and fluffy. Beat in the egg and the vanilla until smooth.
- Whisk the flour, cornstarch, baking powder and salt together, then mix into the butter mixture on low speed just until no dry flour remains. Cover and chill the dough for 30 minutes; this is what keeps the rounds from spreading.
- Heat the oven to 350°F and line two baking sheets with parchment. Scoop the dough into 20 balls of about 2 tablespoons (30 ml) each, set them 2 inches apart, and flatten each one very slightly with the bottom of a glass.
- Bake one sheet at a time for 9 to 11 minutes, until the edges look set and the tops stay pale. Cool on the pan for 5 minutes, then move to a rack and cool completely before any icing goes near them.
- For the icing, whisk the powdered sugar, the 3 tablespoons (45 ml) of milk and the corn syrup until thick but pourable: a ribbon lifted on the whisk should hold for about 3 seconds before it melts back in. Add milk by the teaspoon if it stands in peaks.
- Spoon about 1 tablespoon (15 ml) of icing into the center of each cooled cookie. Nudge it toward the edges with the back of the spoon, unevenly, and let one drip fall over the side on purpose. A perfect circle ruins the joke.
- While the icing is wet, set a marshmallow half, cut side down, at the top of each cookie and tip it slightly sideways, like a head sliding off in the sun.
- Press two mini chocolate chips into the marshmallow as eyes, two or three down the icing as buttons, one orange sprinkle between the eyes as the nose, and a pretzel piece into the wet icing on each side as arms. One button placed crooked sells the melt.
- Leave the cookies uncovered for 1 hour, until the icing crusts and the heads sit firm. Only then stack them, in a single layer if they are traveling.
Faces Without a Piping Bag
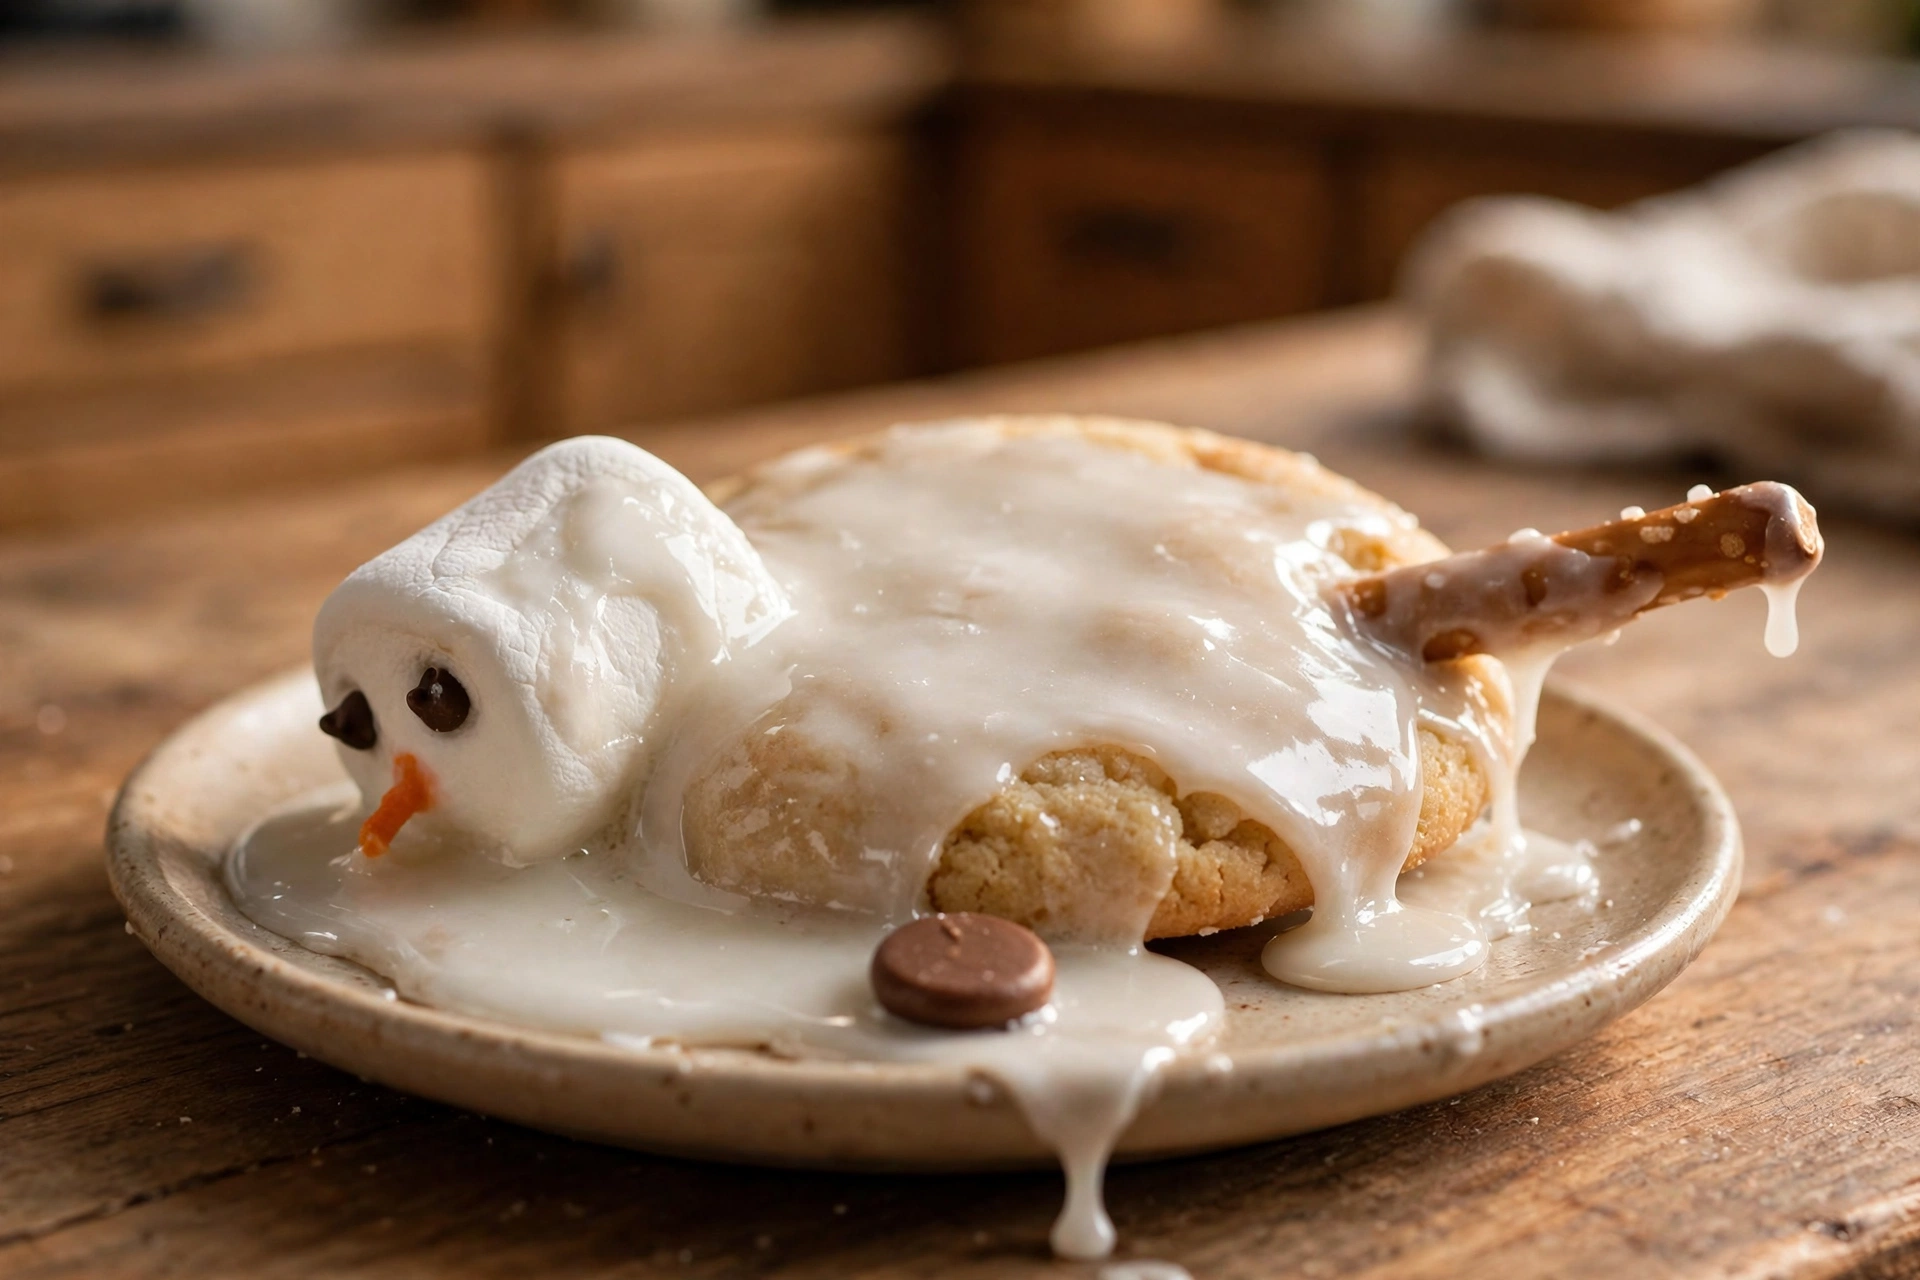
The classic versions of this cookie pipe the faces with melted chocolate, which is slow, messy and hard to correct. Mini chocolate chips do the same job in seconds: press them in point first and they sit like polished coal.
Tweezers help small hands and large ones alike. Set out the chips, noses and pretzel pieces in little bowls before the icing starts, because the working window on each cookie is about a minute before the surface begins to skin.
If a head lands badly, rescue it immediately. While the icing is wet, a marshmallow lifts off cleanly and can be reset; once the crust forms, moving it tears the puddle, so commit early and adjust fast.
Vary the faces on purpose across the tray. One snowman winking with a single eye chip, one with buttons scattered as if they popped off in the heat: a tray of identical faces looks manufactured, and a tray of characters looks homemade in the best way.
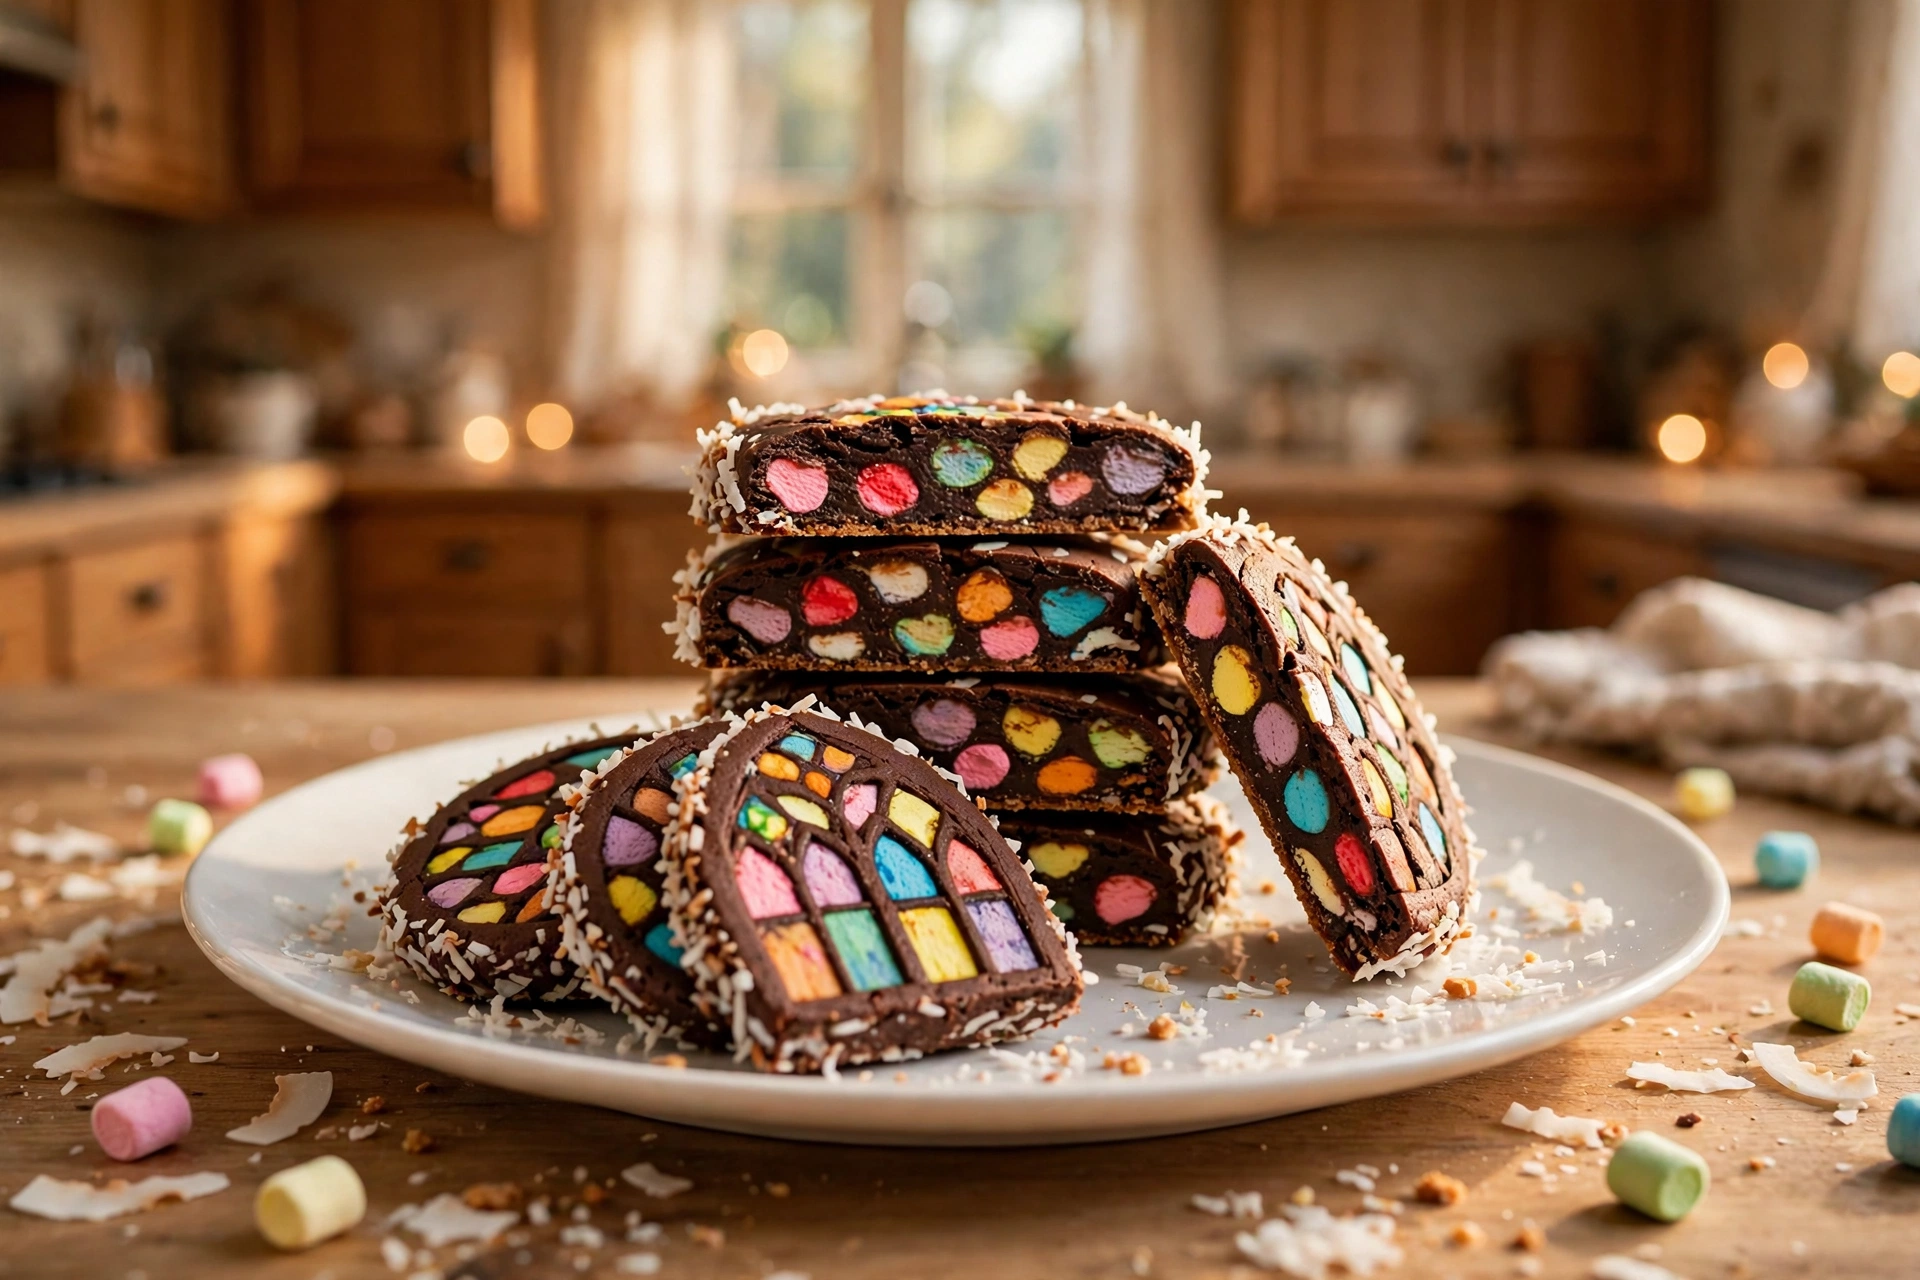
They sit happily beside the more elegant cookies of the season. On our own tray they share the tin with the snow globe cookies from yesterday and the jewel toned cathedral window cookies, and the snowmen are always the first ones claimed.
A Decorating Job Children Can Actually Do
Most Christmas cookie decorating excludes small children by design: royal icing bags, wet on wet techniques, drying racks everywhere. This cookie inverts that. The decoration is placing, not drawing, and placing is a skill a five year old already owns.
Set the baked, iced bases in front of them with the bowls of parts and let them build their own snowmen. A head in the middle of the cookie, arms in the buttons, a nose where an ear should be: every result is correct, because the snowman is melting.
The timing suits a family afternoon. The dough chills while lunch happens, the bases bake in two short rounds, and the decorating, the part children actually remember, fills the hour before the drying rest.
For a party, bake and ice the bases yourself in the morning, then run the decorating as the activity. Twenty cookies and a table of small bowls keep a room of children busy and proud, and the tray they produce is the dessert.
Variations for the Next Tray
A chocolate base changes the scene to a snowman melting on dark earth: swap 1/4 cup (30 g) of the flour for cocoa powder and keep every other measurement. The white puddle reads even brighter against the dark cookie.
Scarves are the upgrade readers ask about most. A thin strip of fruit leather or a ribbon of red fondant tucked under the marshmallow head adds the one note of color the face lacks, and it hides the join between head and puddle.
For a grown up tray, flavor the icing with 1/4 teaspoon (1 ml) of peppermint extract and press a tiny candy cane shard beside one arm. The cookie stays playful but tastes like December in a more deliberate way.
Miniature versions work for a crowd: scoop the dough by the tablespoon (15 ml), bake 8 to 9 minutes, and use mini marshmallows whole as heads. The batch doubles to about 40 small snowmen for a school party or an office kitchen.
A spiced base suits readers who find plain sugar cookies too simple: add 1/2 teaspoon (1 g) of ground cinnamon and a pinch of nutmeg to the flour, and the warm spice under the sweet puddle tastes like a snickerdoodle wearing a costume. Keep the icing plain white so the snow still reads as snow.
Storage, Travel and the One Layer Rule
Decorated cookies keep 3 to 4 days in an airtight container at room temperature, in a single layer or separated by parchment. The icing is fully crusted after its hour, but the marshmallow heads are tall and soft, and stacking weight bends them by the second day.
For gift tins, the one layer rule is absolute: one layer of snowmen, a sheet of parchment, then a layer of a sturdier cookie below or above, never snowman on snowman. Our christmas crack makes the ideal flat, sturdy neighbor in the same tin.
The undecorated bases are the make ahead heroes. They keep 5 days in a tin and freeze for a month, layered with parchment; thaw them at room temperature for an hour, then ice and decorate the day you serve, when the puddles gloss best.
Do not refrigerate the finished cookies. Cold air dries the marshmallow heads and dulls the icing shine, and the pretzel arms go soft in the humid box. Room temperature, sealed and dark, is the whole storage secret.
The Cookie That Makes the Tray
Melting snowman cookies are not the most elegant cookie of Christmas, and that is their power. Every tray needs one thing that makes people laugh before it makes them hungry, and a row of snowmen losing their heads does it every time.
Bake the bases, pour the puddles and let the characters be imperfect. The tray will empty in the order of charm, and these will be gone first.
Melting Snowman Cookies Questions
Why does my icing run off the melting snowman cookies?
The icing is too thin or the cookies were still warm. Whisk in powdered sugar 1 tablespoon (8 g) at a time until a ribbon holds for about 3 seconds, and ice only completely cooled cookies; warmth melts the puddle straight over the edges.
How do I keep the marshmallow heads from sliding off?
Set each half cut side down into freshly spooned, still wet icing, tip it only slightly, and then do not touch the cookie for the full drying hour. If the icing had already skinned over before the head went on, dab a dot of fresh icing under the marshmallow as glue.
Why did my cookie bases spread into ovals?
The dough went into the oven warm or the butter was too soft. Chill the mixed dough the full 30 minutes, use butter that is soft but still cool to the touch, and spoon and level the flour so the ratio stays right. A fully preheated oven sets the edges before the butter can run.
Can I decorate melting snowman cookies the day before a party?
Yes, and they hold up well: decorate in the afternoon, dry them uncovered for 1 hour, then store them in a single layer in an airtight container at room temperature. Add any fruit leather scarves the next morning so their color stays bright.
Can I freeze melting snowman cookies?
Freeze the undecorated bases for up to a month, layered with parchment, and thaw them for 1 hour at room temperature before icing. Finished cookies do not freeze well: the marshmallow heads toughen and the pretzel arms soften as they thaw.

Melting Snowman Cookies
Soft sugar cookies that hold their round shape, flooded with a simple glossy icing left deliberately uneven, each one finished with a marshmallow head tipped sideways, mini chocolate chip eyes and buttons, an orange sprinkle nose and pretzel stick arms. No piping bag, no royal icing, no stress: the mess is the design. Makes 20 characters for the cookie tray.
- Total Time: 1 hour 45 minutes
- Yield: 20 cookies 1x
Ingredients
3/4 cup (170 g) unsalted butter, softened
1 large egg (50 g), at room temperature
2 teaspoons (10 ml) vanilla extract
2 1/4 cups (280 g) all-purpose flour, spooned and leveled
1 tablespoon (8 g) cornstarch
1/2 teaspoon (2 g) baking powder
1/4 teaspoon (1.5 g) fine sea salt
2 cups (240 g) powdered sugar, for the icing
3 tablespoons (45 ml) milk, plus more by the teaspoon
1 tablespoon (15 ml) light corn syrup, for the icing shine
10 large marshmallows (about 100 g), halved crosswise
1/4 cup (44 g) mini chocolate chips, for eyes and buttons
20 orange sprinkles or tiny orange candies, for the noses
40 thin pretzel stick pieces, about 1 inch (2.5 cm) each, for the arms
Instructions
Beat the butter and the granulated sugar for 2 minutes, until pale and fluffy. Beat in the egg and the vanilla until smooth.
Whisk the flour, cornstarch, baking powder and salt together, then mix into the butter mixture on low speed just until no dry flour remains. Cover and chill the dough for 30 minutes; this is what keeps the rounds from spreading.
Heat the oven to 350°F and line two baking sheets with parchment. Scoop the dough into 20 balls of about 2 tablespoons (30 ml) each, set them 2 inches apart, and flatten each one very slightly with the bottom of a glass.
Bake one sheet at a time for 9 to 11 minutes, until the edges look set and the tops stay pale. Cool on the pan for 5 minutes, then move to a rack and cool completely before any icing goes near them.
For the icing, whisk the powdered sugar, the 3 tablespoons (45 ml) of milk and the corn syrup until thick but pourable: a ribbon lifted on the whisk should hold for about 3 seconds before it melts back in. Add milk by the teaspoon if it stands in peaks.
Spoon about 1 tablespoon (15 ml) of icing into the center of each cooled cookie. Nudge it toward the edges with the back of the spoon, unevenly, and let one drip fall over the side on purpose. A perfect circle ruins the joke.
While the icing is wet, set a marshmallow half, cut side down, at the top of each cookie and tip it slightly sideways, like a head sliding off in the sun.
Press two mini chocolate chips into the marshmallow as eyes, two or three down the icing as buttons, one orange sprinkle between the eyes as the nose, and a pretzel piece into the wet icing on each side as arms. One button placed crooked sells the melt.
Leave the cookies uncovered for 1 hour, until the icing crusts and the heads sit firm. Only then stack them, in a single layer if they are traveling.
Notes
The total time includes 30 minutes of dough chilling and 1 hour of icing drying. Bake the bases up to 3 days ahead and freeze them undecorated for a month; decorate the day you serve for the glossiest puddles.
- Prep Time: 35 minutes
- Cook Time: 10 minutes
Nutrition
- Calories: 215
- Sodium: 55
- Saturated Fat: 4.5
- Protein: 2
- Cholesterol: 25