
In this article:
- The Size Rule That Makes or Breaks a Snow Globe Cookie
- A Sugar Cookie That Refuses to Spread
- Snow Globe Cookies Ingredients
- How to Make Snow Globe Cookies, Step by Step
- Building a Winter Scene You Can Actually Eat
- The Frosting Has to Hold the Dome
- Taking Them to the Party Without Breaking the Magic
- Other Scenes to Build Under the Dome
- Keeping Cookies, Scenes and Domes Fresh
- The Cookie That Stops the Whole Tray
- Snow Globe Cookies Questions
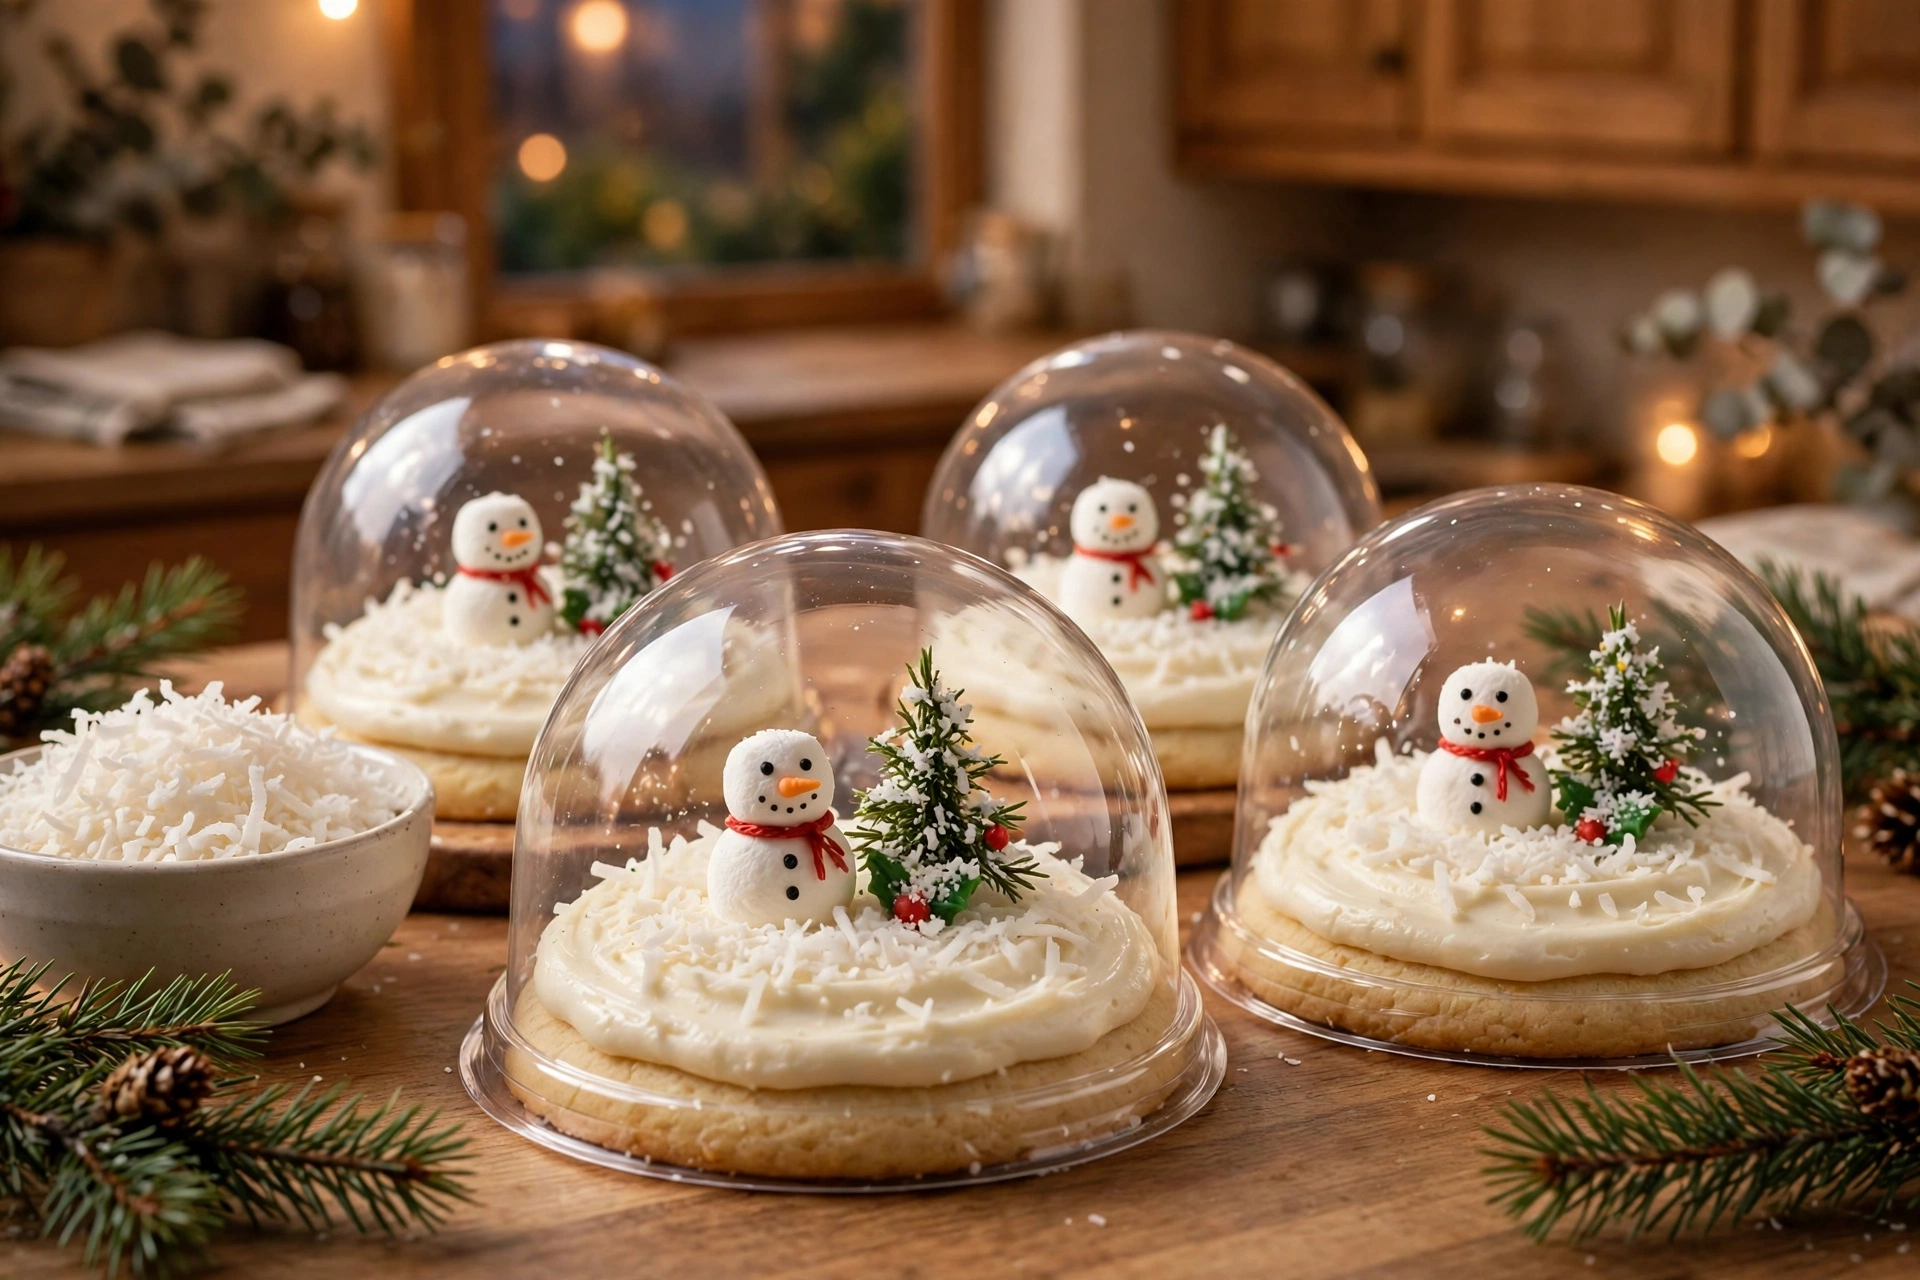
Snow globe cookies are soft sugar cookies under a clear dome, each one frosted with cream cheese snow and carrying a tiny edible winter scene: a marshmallow snowman, two green trees and a drift of coconut.
They are the cookie that stops thumbs on a feed and stops guests at the tray. The trick is not artistic talent; it is one size rule, a cookie that does not spread, and a frosting firm enough to hold both the scene and the dome.
This version makes 24 cookies, not the timid dozen of most recipes, and every part of the scene is edible, so the cookies are safe and fun for the children who will inevitably claim them first.
The Size Rule That Makes or Breaks a Snow Globe Cookie
Snow globe cookies succeed or fail on one measurement, and it has nothing to do with the dough. The dome must sit inside the edge of the cookie with a ring of frosting visible all the way around it, like snow piled against glass.
The working pair is a cookie of 3 1/2 inches (9 cm) and a dome of 3 inches (7.5 cm). That half inch of border is not decoration; it is the ledge the dome rests on, and it is what makes the finished cookie read as a globe instead of a cupcake under plastic.
Buy the domes first and bake to fit them. The domes are sold as fillable clear ornament halves or small dessert domes; measure the inside diameter of yours, then cut or scoop the cookie exactly 1/2 inch (1.25 cm) wider than that number.
If your domes are the smaller 2.4 inch (6 cm) size, scoop smaller cookies of 3 inches (7.5 cm) and shorten the bake by a minute. The rule travels; only the numbers change. What never works is a dome wider than the cookie, wobbling on frosting with nothing to hold it.
Wash the domes in warm soapy water and dry them completely before they touch food, and remember what they are: decoration, not dessert. They lift off before anyone takes a bite, and they go back in the box for next December. One more sizing note: the scene lives in the middle 2 inches of the cookie, so keep the snowman and trees inside that circle, or the dome will shear them off as it settles into the frosting.
A Sugar Cookie That Refuses to Spread
A globe needs a round stage, so this dough is built against spreading. The butter is soft but not greasy, the flour is measured generously, and there is just enough baking powder to lift the center without pushing the edges outward.
Cold dough is the second defense. Thirty minutes in the refrigerator firms the butter, and cold butter melts slowly in the oven, which means the cookie sets its shape before it has time to slump into an oval.
Scooping instead of rolling gives you identical circles without a rolling pin or a cutter. A 3 tablespoon (45 ml) scoop of dough, rolled in granulated sugar and flattened gently with the bottom of a glass, bakes into the same 3 1/2 inch round every time.
The sugar coat is doing quiet work, too: a faint sparkle at the rim, a delicate crunch against the soft center, and a surface the frosting grips instead of sliding on. Bake until the centers look just set and the edges are barely golden, 10 to 12 minutes at 350°F; an extra minute for color turns the base into a cracker that fights the soft frosting.
Cool the cookies completely on the pan, then on a rack. Frosting on a warm cookie melts, slides and takes the whole scene with it, and no dome will save a globe built on a landslide. Our easy Christmas sugar cookies follow the same no spread logic for decorating.
Snow Globe Cookies Ingredients
- 3/4 cup (170 g) unsalted butter, softened
- 1 cup (200 g) granulated sugar, plus 1/4 cup (50 g) for rolling
- 1 large egg (50 g), at room temperature
- 2 teaspoons (10 ml) vanilla extract
- 2 1/2 cups (315 g) all-purpose flour, spooned and leveled
- 1/2 teaspoon (2 g) baking powder
- 1/4 teaspoon (1.5 g) fine sea salt
- 8 ounces (226 g) cream cheese, softened, for the frosting
- 1/4 cup (57 g) unsalted butter, softened, for the frosting
- 2 cups (240 g) powdered sugar, for the frosting
- 1 teaspoon (5 ml) vanilla extract, for the frosting
- 1 cup (85 g) sweetened shredded coconut, for the snow
- 48 mini marshmallows (about 80 g), for the snowmen
- 2 tablespoons (22 g) mini chocolate chips, for eyes and buttons
- 1 tablespoon (10 g) orange sprinkles, for the noses
- 24 small green gumdrops (about 100 g), for the trees
- 24 clear plastic domes, 3 inches (7.5 cm) wide, washed and dried
The domes are equipment, not food: halves of fillable clear ornaments or small dessert domes both work, as long as they measure 3 inches (7.5 cm) across the inside. Buy a few spares, because one always rolls off the counter.
Full fat cream cheese in a block is the only kind that sets this frosting properly. The whipped and tub versions carry extra air and water, and the frosting made from them slumps under the weight of the dome.
A note on the flour: it must be fully baked before it is eaten, which this recipe guarantees. The FDA guidance on raw flour is the reason nobody should be nibbling this dough, however tempting the bowl looks.
How to Make Snow Globe Cookies, Step by Step
- Beat the 3/4 cup (170 g) of butter with the 1 cup (200 g) of granulated sugar for 2 minutes, until pale and fluffy. Beat in the egg and the 2 teaspoons (10 ml) of vanilla until smooth.
- Whisk the flour, baking powder and salt together, then mix them into the butter mixture on low speed just until no dry flour remains. Cover and chill the dough for 30 minutes.
- Heat the oven to 350°F and line two baking sheets with parchment. Put the 1/4 cup (50 g) of rolling sugar in a shallow bowl.
- Scoop the dough into 24 balls of about 3 tablespoons (45 ml) each, roll each ball in the sugar, and set them 2 inches apart on the sheets. Flatten each gently with the bottom of a glass to about 1/2 inch thick.
- Bake one sheet at a time for 10 to 12 minutes, until the centers look just set and the edges are barely golden. Cool on the pan for 5 minutes, then move the cookies to a rack to cool completely.
- For the frosting, beat the cream cheese and the 1/4 cup (57 g) of butter until smooth. Beat in the powdered sugar and the 1 teaspoon (5 ml) of vanilla until thick and spreadable, about 2 minutes. It should hold a stiff peak.
- Spread a generous, level layer of frosting on each cookie, leaving a thin unfrosted rim. Sprinkle the frosting with the shredded coconut and press it very lightly so it stays.
- Build the scene in the center of each cookie: stand two mini marshmallows one on the other for a snowman, add mini chocolate chip eyes and buttons and an orange sprinkle nose, and set a green gumdrop tree beside him.
- Lower a clean, dry dome over each scene, pressing it gently into the frosting until it seats. Let the cookies rest for 15 minutes so the frosting firms around the dome before moving them.
Building a Winter Scene You Can Actually Eat
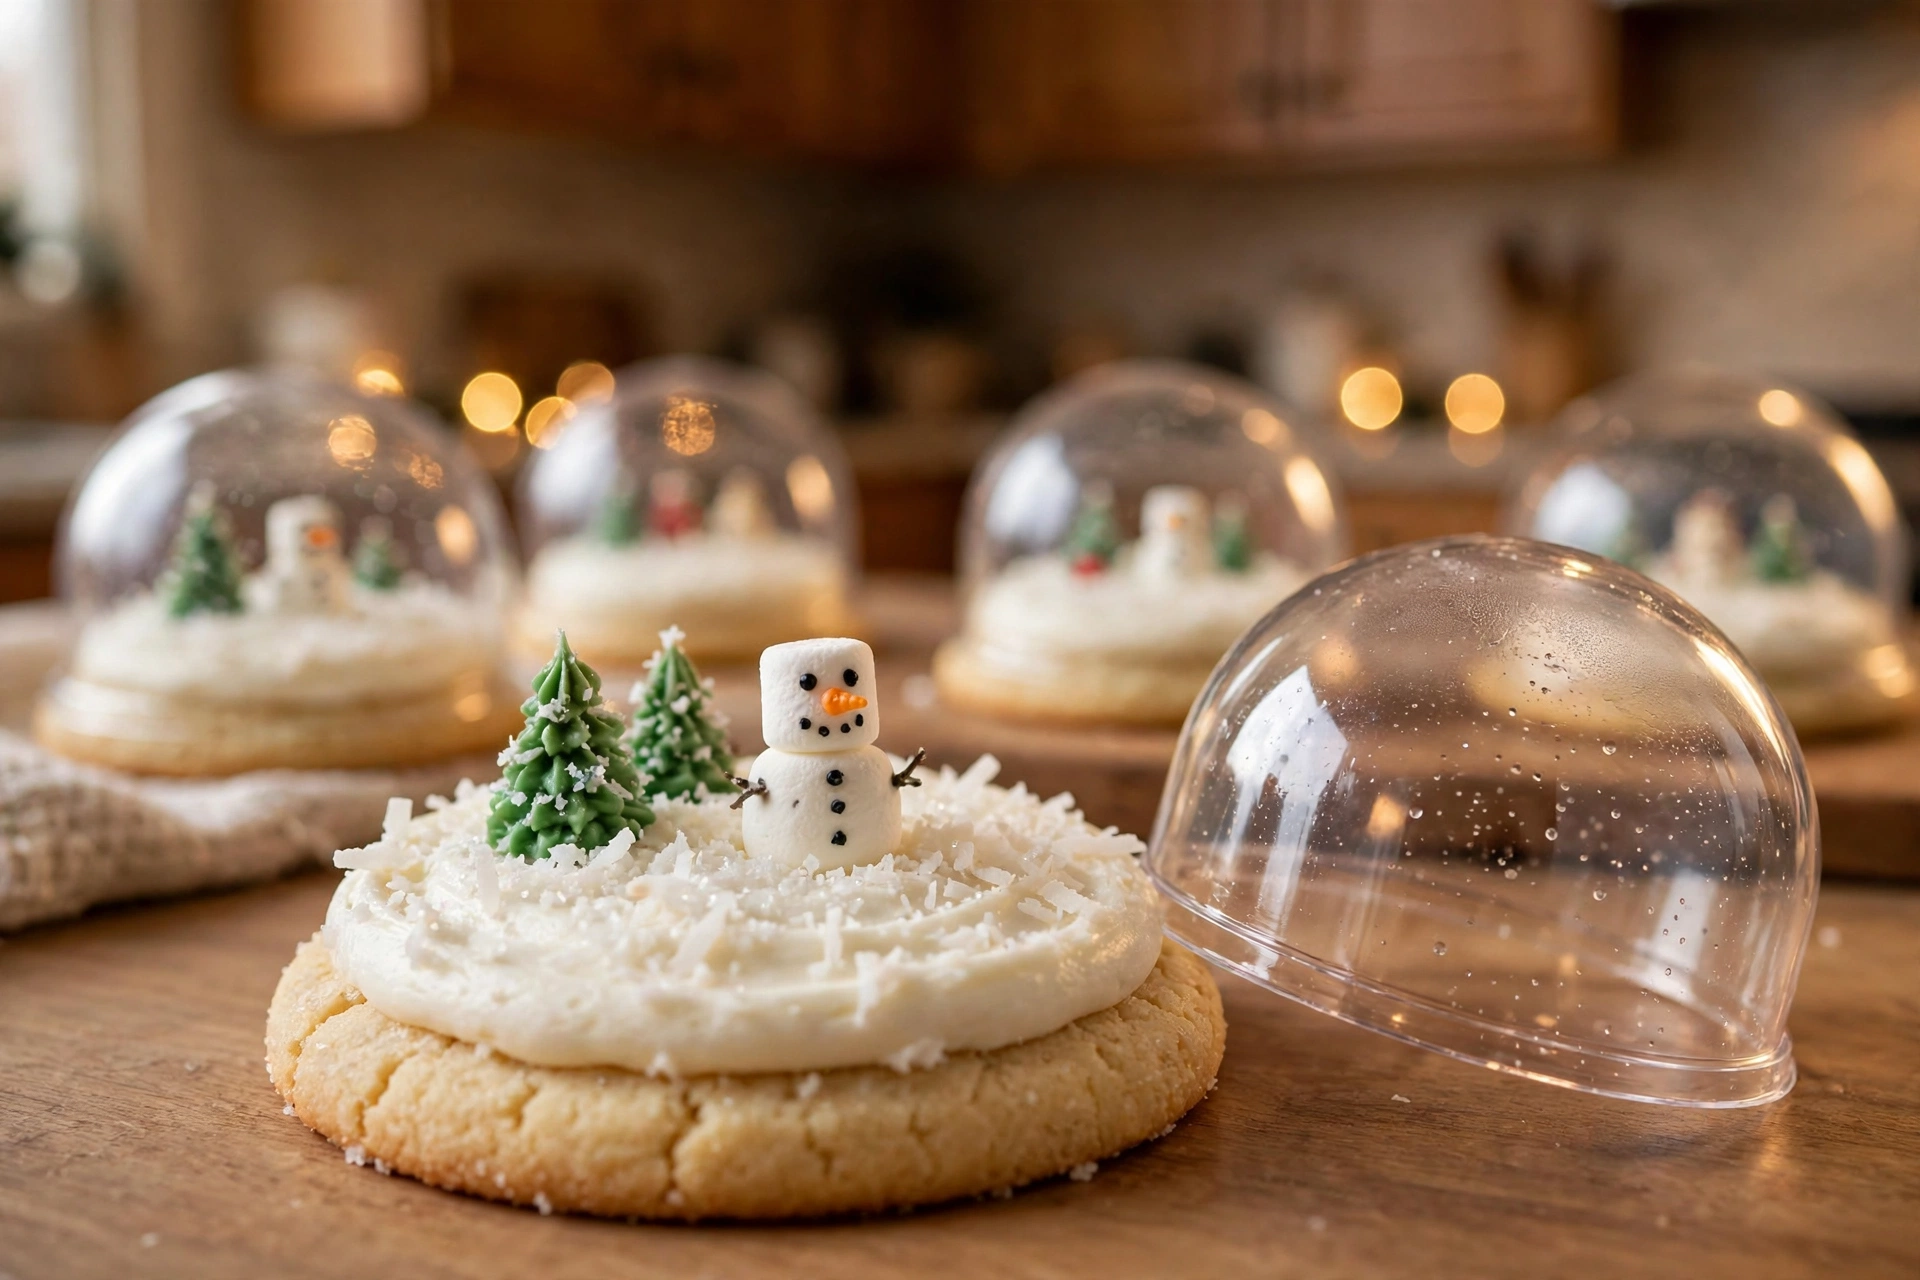
Many versions of snow globe cookies decorate with plastic figurines, which are charming in a photo and a problem on a real tray. This scene is built only from food, so the cookie can be handed to a child without a single warning attached.
The snowman is two mini marshmallows and gravity. Press the second marshmallow firmly onto the first and the frosting does the gluing; a tiny dab of extra frosting between them makes the stack unshakeable. His face takes seconds: two mini chips for eyes, three down the body, one orange sprinkle for the nose.
The trees are green gumdrops, snipped flat at the base so they stand straight. Their sugary coat reads as frosted branches under the dome, and their chew is a pleasant surprise in a soft cookie.
Coconut is the snow, and it should be scattered, not packed. A light drift over the frosting, heavier at the edges of the scene, looks like weather; a solid white blanket looks like more frosting.
Work on one cookie at a time, while the frosting is still soft enough to grip the scene. If small hands are helping, set the scene parts out in little bowls and let each person build their own globe; no two snowmen will match, which is precisely the charm. They sit happily on a tray next to our cathedral window cookies, all color and glass.
The Frosting Has to Hold the Dome
Cream cheese frosting has a reputation for softness, and a soft frosting fails this cookie twice: the scene sinks, and the dome slides. The fix is proportion and temperature, not gelatin or tricks.
The ratio here is deliberate: a full block of cream cheese against only 1/4 cup (57 g) of butter and 2 cups (240 g) of powdered sugar. It spreads like a frosting and sets like a soft mortar, especially after 15 minutes of rest.
Beat it a full 2 minutes after the sugar goes in. Underbeaten frosting is dense and greasy; properly beaten, it turns pale, thick and capable of holding a peak, which is the texture that grips a dome.
Spread it level, not domed. A frosting mound pushes the scene outward as the dome presses down, while a level layer lets the dome seat straight and keeps the visible ring of snow even all around.
If your kitchen is warm and the frosting slackens, refrigerate the frosted cookies for 10 minutes before adding the scenes. Cold frosting holds figures upright, and the coconut snow hides any fingerprint you leave behind.
Seat each dome with a gentle press and a quarter turn, then leave it alone. Every lift and reset smears the glass with frosting, and a smeared dome photographs like fog. Set once, set right, and move to the next cookie.
Taking Them to the Party Without Breaking the Magic
Snow globe cookies travel better than they look, because the dome that makes them fragile looking is also their armor. Inside a seated dome, the scene cannot be crushed by a lid, a sleeve or a neighboring cookie.
Carry them in a single layer, in the box or tray they will be served from, with the domes on. Stacking is the only true danger: one cookie resting on another’s dome will crack the scene below it and slide the top one sideways.
Mind the clock on the frosting. Because it contains cream cheese, the finished cookies should spend no more than 2 hours at room temperature before serving, and they are happiest traveling in a cool car rather than a warm trunk.
At the party, lift the domes off as you serve, or let each guest lift their own, which is the small ceremony everyone remembers. The domes go straight into a bowl so they can be washed, dried and saved.
If the event is hours away, frost and build the scenes at home but carry the domes separately in their packaging, then seat them on arrival. The cookies travel flat and safe, and the globes assemble in five minutes on site. For a cookie exchange, pack the sturdy cookies below and crown the box with a single layer of globes; our Italian ricotta Christmas cookies make good, stackable company underneath.
Other Scenes to Build Under the Dome
Once the base cookie and frosting are yours, the scene is a small stage waiting for new actors. A gingerbread cottage scene uses a tiny gingerbread house cookie standing in the coconut, with a path of crushed candy cane leading to its door.
The woodland version replaces the snowman with a deer made from a small chocolate truffle and pretzel antlers, standing between two gumdrop trees. It reads more grown up and suits a tray without children.
For a red and white globe, skip the coconut and cover the frosting with crushed candy cane snow, then stand a single miniature candy cane upright beside a white chocolate truffle snowball. The peppermint carries into the frosting as it sits.
Whatever scene you build, respect the middle 2 inches and keep every element under 1 1/2 inches tall. The dome is a strict landlord: anything taller gets decapitated at seating, and anything wider gets shaved by the glass.
Keeping Cookies, Scenes and Domes Fresh
Unfrosted cookies keep the longest: 5 days in an airtight container at room temperature, or 2 months frozen, thawed at room temperature before frosting. Bake the whole batch on a quiet day and decorate later.
Frosted and domed cookies belong in the refrigerator, in a single layer, where they keep for 3 days. The cookie softens slightly against the frosting, which most people count as an improvement, and the scene stays exactly where you built it.
Bring refrigerated globes out 20 minutes before serving. The frosting loses its chill, the cookie comes back to tender, and condensation on the cold dome, the one enemy of the clear glass look, has time to fade.
The domes themselves keep forever: wash, dry completely so no water spots cloud the plastic, and store them nested in their box for a decade of Decembers. Do not freeze finished globes, though; the coconut snow dulls, the gumdrop trees weep as they thaw, and the domes fog. Freeze the plain cookies and build the scenes fresh.
The Cookie That Stops the Whole Tray
Snow globe cookies ask for a scoop of dough, a bowl of frosting and ten minutes of playing with tiny snowmen, and they return the most memorable cookie on the Christmas tray. The dome does the showing off; the soft, sugar rolled cookie underneath does the eating.
Bake the bases this weekend, keep the domes washed and ready, and let each cookie become a small winter world of its own. When the tray goes down the table, watch which cookie every hand reaches for first.
Snow Globe Cookies Questions
What size dome do I need for snow globe cookies?
Match the dome to the cookie: a 3 inch (7.5 cm) dome over a 3 1/2 inch (9 cm) cookie leaves the ring of frosting the dome needs to sit in. Whatever size you buy, bake the cookie exactly 1/2 inch (1.25 cm) wider than the inside of the dome, and buy the domes before you bake.
Why did my sugar cookies spread into ovals?
The dough was too warm or the butter too soft. Chill the scooped dough for the full 30 minutes, use butter that is soft but still cool to the touch, and measure the flour by spooning and leveling. A hot oven that has not finished preheating also melts the butter before the edges can set.
Are the decorations on snow globe cookies edible?
In this recipe, yes, every part of the scene is food: marshmallow snowmen, gumdrop trees, coconut snow and chocolate chip details, so the cookie is safe for children. The clear dome is the only non edible piece; it is decoration, washed before use and lifted off before eating.
Why does my dome slide off or fog up?
Sliding means the frosting was too soft or spread in a mound; beat it a full 2 minutes, spread it level, and seat the dome once with a gentle press. Fogging is condensation, usually from refrigerating the finished globes and serving them cold; let them stand 20 minutes at room temperature and the glass clears.
How far ahead can I make snow globe cookies for a party?
Bake the plain cookies up to 5 days ahead, or freeze them for 2 months. Frost and build the scenes the day before the party, keep the finished globes in a single layer in the refrigerator, and seat the domes at home for a short trip or on arrival for a long one.
Snow Globe Cookies
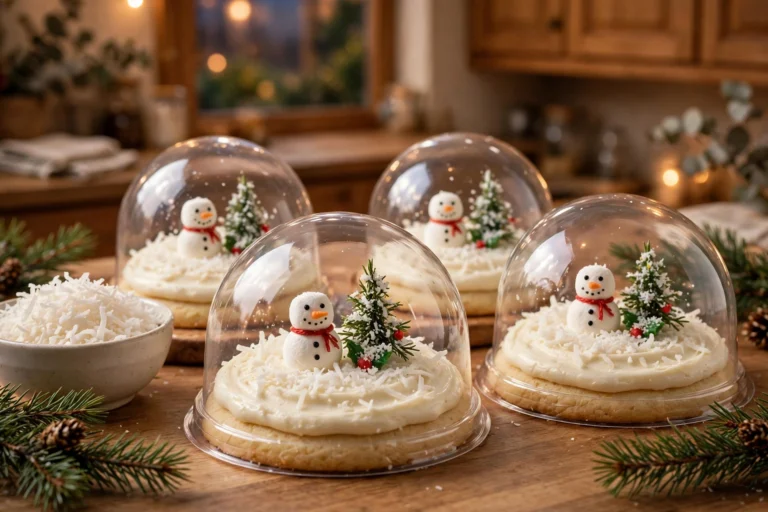
Soft sugar cookies that refuse to spread, rolled in sugar and baked into exact 3 1/2 inch rounds, frosted with a firm cream cheese frosting and decorated with a fully edible winter scene: coconut snow, a marshmallow snowman and a gumdrop tree, all under a 3 inch clear dome. Makes 24, a real tray quantity.
- Total Time: 1 hour 30 minutes
- Yield: 24 cookies 1x
Ingredients
3/4 cup (170 g) unsalted butter, softened
1 large egg (50 g), at room temperature
2 teaspoons (10 ml) vanilla extract
2 1/2 cups (315 g) all-purpose flour, spooned and leveled
1/2 teaspoon (2 g) baking powder
1/4 teaspoon (1.5 g) fine sea salt
8 ounces (226 g) cream cheese, softened, for the frosting
1/4 cup (57 g) unsalted butter, softened, for the frosting
2 cups (240 g) powdered sugar, for the frosting
1 teaspoon (5 ml) vanilla extract, for the frosting
1 cup (85 g) sweetened shredded coconut, for the snow
48 mini marshmallows (about 80 g), for the snowmen
2 tablespoons (22 g) mini chocolate chips, for eyes and buttons
1 tablespoon (10 g) orange sprinkles, for the noses
24 small green gumdrops (about 100 g), for the trees
24 clear plastic domes, 3 inches (7.5 cm) wide, washed and dried
Instructions
Beat the 3/4 cup (170 g) of butter with the 1 cup (200 g) of granulated sugar for 2 minutes, until pale and fluffy. Beat in the egg and the 2 teaspoons (10 ml) of vanilla until smooth.
Whisk the flour, baking powder and salt together, then mix into the butter mixture on low speed just until no dry flour remains. Cover and chill the dough for 30 minutes.
Heat the oven to 350°F and line two baking sheets with parchment. Put the 1/4 cup (50 g) of rolling sugar in a shallow bowl.
Scoop the dough into 24 balls of about 3 tablespoons (45 ml) each, roll each ball in the sugar, and set them 2 inches apart on the sheets. Flatten each gently with the bottom of a glass to about 1/2 inch thick.
Bake one sheet at a time for 10 to 12 minutes, until the centers look just set and the edges are barely golden. Cool on the pan for 5 minutes, then move to a rack to cool completely.
For the frosting, beat the cream cheese and the 1/4 cup (57 g) of butter until smooth. Beat in the powdered sugar and the 1 teaspoon (5 ml) of vanilla until thick and spreadable, about 2 minutes, holding a stiff peak.
Spread a generous, level layer of frosting on each cookie, leaving a thin unfrosted rim. Sprinkle with the shredded coconut and press very lightly so it stays.
Build the scene in the center of each cookie: stand two mini marshmallows one on the other for a snowman, add mini chocolate chip eyes and buttons and an orange sprinkle nose, and set a green gumdrop tree beside him.
Lower a clean, dry dome over each scene, pressing gently into the frosting until it seats. Rest the cookies 15 minutes so the frosting firms around the dome before moving them.
Notes
Buy the domes before you bake and size the cookie to them: dome width plus 1/2 inch (1.25 cm) is the cookie diameter. The domes are decoration only, washed before use and lifted off before eating; save them for next year.
- Prep Time: 45 minutes
- Cook Time: 12 minutes
Nutrition
- Calories: 255
- Sodium: 70
- Saturated Fat: 7
- Protein: 3
- Cholesterol: 45