Table of Contents
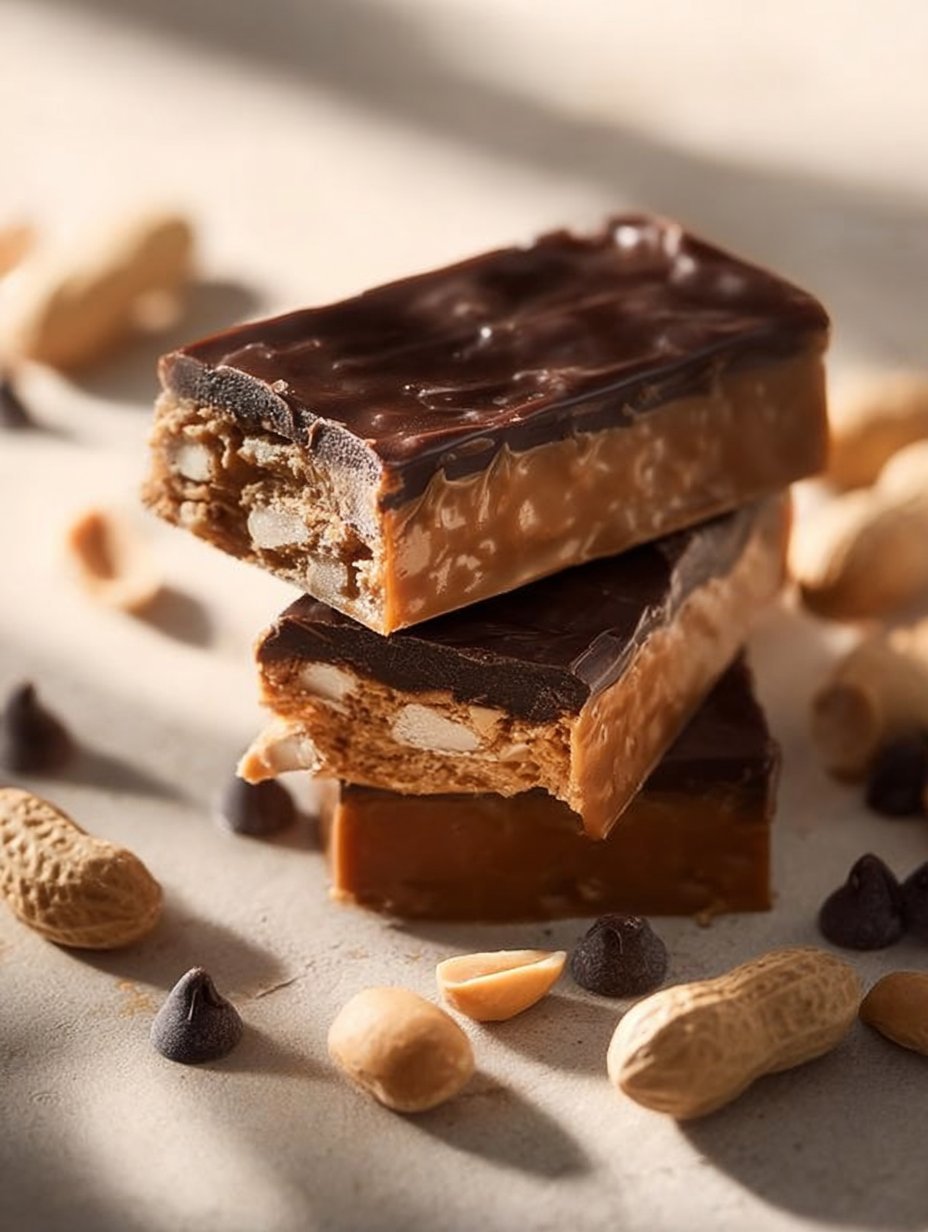
No-Bake Protein Bars are the easiest way to boost energy between meals, fuel workouts, or calm a late-afternoon craving. In less than 30 minutes you can mix pantry staples into compact, portable bars that travel well and taste indulgent without baking. These No-Bake Protein Bars are flexible with flavors and textures so you can personalize them to your pantry or dietary needs. Try a seasonal spin, pack them for a weekend hike, or keep a stack in the fridge for school lunches. Unique KozinaRecipes tip: toast the oats lightly in a dry skillet for 2 minutes before mixing to add a warm, nutty note without heat-baking the bars. For a similar bite-sized snack inspiration, check out these Almond Butter Pumpkin Protein Balls for a cozy fall variation: Almond Butter Pumpkin Protein Balls.
Why Choose This Recipe
No-Bake Protein Bars earn a spot in your routine because they combine convenience, nutrition, and flavor with minimal effort. This recipe uses rolled oats, a scoopable protein powder, and creamy nut butter to create a satisfying chew and a slow-release energy profile. The flexibility of honey or maple syrup as a binder means you control sweetness and texture, while optional chia or flax seeds add a refined nutritional boost. The bars are easy to press and set in the fridge, and they travel well in an airtight container for up to a week. You can customize them by folding in mini chocolate chips or your favorite dried fruit to match any mood. The combination of wholesome ingredients gives predictable texture and structure, so your No-Bake Protein Bars will cut cleanly and stack neatly. For busy mornings, these bars replace a rushed breakfast or serve as a post-workout treat. The recipe scales easily and doubles without fuss when you want to batch-make snacks for the week.
Flavor and Texture
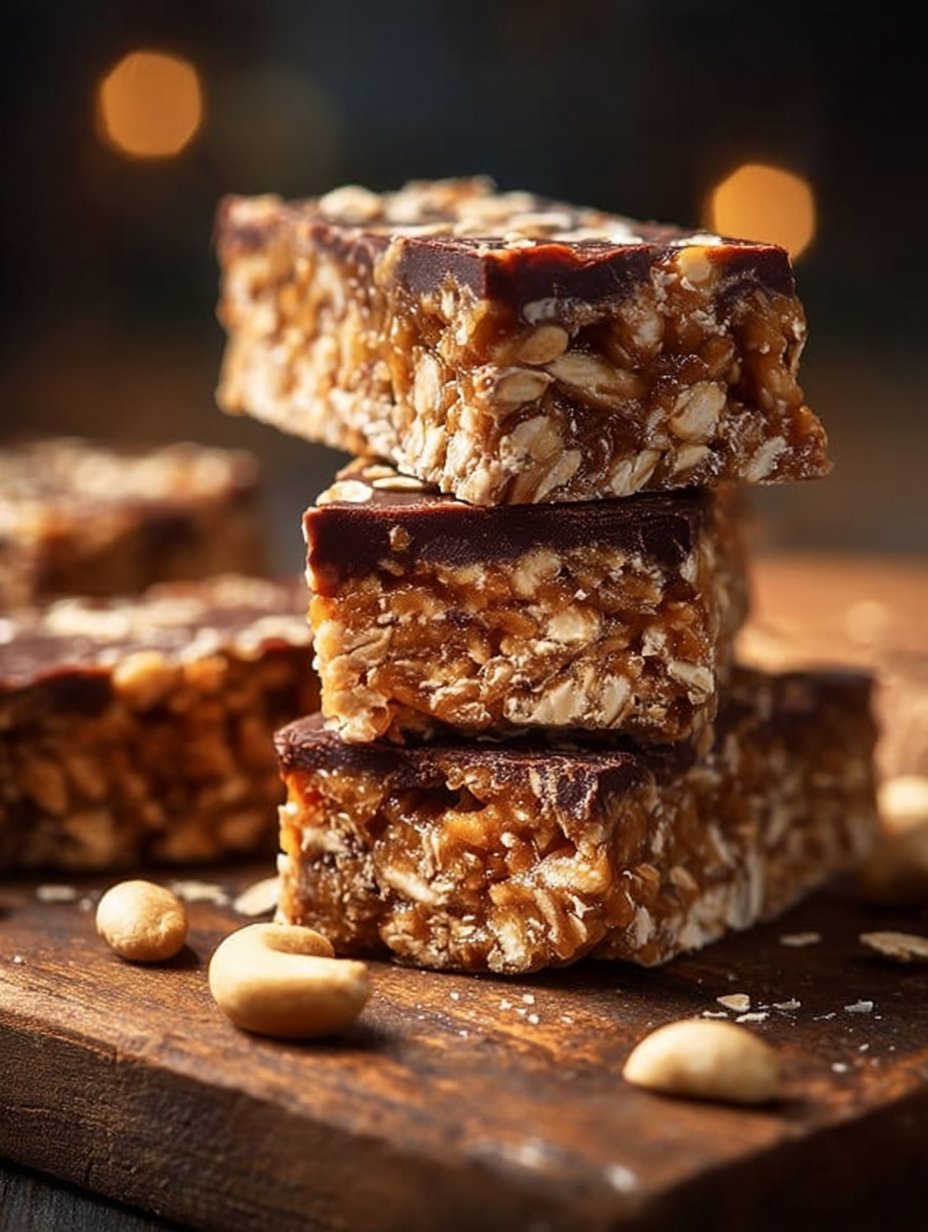
The signature appeal of No-Bake Protein Bars lies in the balance between chewy oats and creamy nut butter. Rolled oats keep some texture so each bite has body, while protein powder helps set the bars and boosts satiety. Honey or maple syrup binds ingredients without overpowering the profile, and a whisper of vanilla smooths the edges. If you add mini chocolate chips, they create small pockets of melting sweetness against the grainy chew. Dried fruit adds a tender, chewy contrast and natural caramel notes. Chia or flax seeds introduce a subtle crunch and a hint of earthy flavor, plus extra fiber. Sea salt heightens all the flavors and prevents the bars from tasting flat or overly sweet. If you prefer a firmer bar, use chilled nut butter and slightly less milk; for softer bites, increase the milk by a tablespoon. These No-Bake Protein Bars can be adjusted for texture from dense and chewy to soft and tender with a few simple tweaks.
Convenience and Time
One of the strongest reasons to make No-Bake Protein Bars is the time savings. With only a few ingredients and simple mixing steps, most hands-on time is under 20 minutes. You do need to allow chilling time for the bars to firm up, but that happens in the refrigerator while you’re doing other tasks. The lack of baking means no preheating, no oven heat, and no monitoring, which reduces kitchen fuss and cleanup. These bars are portable, which is perfect for commuters, athletes, or parents packing snacks. The ingredients are shelf-stable: oats and protein powder keep a long time, and nut butter and sweeteners are pantry staples. If unexpected guests pop by, you can press a batch into the fridge and have bite-size snacks ready within an hour. The straightforward method also makes it easy for kids to help measure and press the mixture, turning snack prep into a quick family activity.
Diet-Friendly Options
No-Bake Protein Bars adapt to many dietary preferences without complicated swaps. Use your favorite protein powder to make them whey-based, plant-based, or collagen-enhanced. For dairy-free diets, choose a non-dairy protein powder and almond or peanut butter with a non-dairy milk. Swap honey for maple syrup to keep the recipe vegan-friendly, and replace mini chocolate chips with dairy-free chocolate or extra dried fruit. To lower added sugars, reduce chocolate chips and use unsweetened nut butter with a little extra vanilla and salt to heighten flavor. For extra fiber and omega-3s, stir in chia seeds or flax seeds. Athletes can tweak the protein ratio by increasing protein powder and decreasing oats slightly to boost protein density while preserving texture. These No-Bake Protein Bars are an ideal blank canvas for many eating styles.
Ingredients
- 2 cups rolled oats
- 1 cup protein powder (any flavor)
- 1 cup nut butter (almond or peanut butter)
- 1/2 cup honey or maple syrup
- 2 tablespoons chia seeds or flax seeds (optional)
- 1/3 cup mini chocolate chips or dried fruit (optional)
- 1 teaspoon vanilla extract
- 1/4 teaspoon sea salt
- 2 to 4 tablespoons milk or non-dairy alternative (as needed for consistency)
Step by Step Instructions
- In a large mixing bowl, combine rolled oats, protein powder, chia or flax seeds (if using), and sea salt.
- In a separate bowl, whisk together nut butter, honey or maple syrup, and vanilla extract until smooth.
- Pour the wet ingredients into the dry ingredients and stir until a thick, sticky mixture forms. Add milk a tablespoon at a time if needed to help bind.
- Fold in mini chocolate chips or dried fruit if desired.
- Press the mixture firmly into a parchment-lined baking dish or pan, spreading evenly.
- Refrigerate for 1 to 2 hours until firm.
- Once set, slice into 10 to 12 bars and store in an airtight container.
Tips and Tricks for Success
No-Bake Protein Bars are forgiving but a few small habits ensure consistent results. Use rolled oats rather than quick oats for best texture; quick oats can lead to a pasty finish. Warm the nut butter slightly if it’s very stiff so it mixes smoothly with honey for an even binder. When measuring protein powder, gently aerate the powder for accurate scooping—packed scoops can make bars crumbly. Press the mixture firmly into the pan so bars slice cleanly later; a flat-bottomed measuring cup works great for compacting. If bars are too crumbly after chilling, press the scraps together and re-chill; a tablespoon or two more milk can rescue a dry batch. For perfectly even bars, chill the pan slightly before slicing. Rotate flavor inclusions to keep a weekly batch interesting, and remember the KozinaRecipes secret: a quick 2-minute toast of oats before mixing deepens aroma without baking.
Ingredient Swaps
If you want to change the flavor or accommodate pantry limits, swaps work well. Replace peanut butter with tahini for a savory twist, or sunflower seed butter for nut-free needs. Swap honey for maple syrup to make the bars vegan-friendly. Use collagen or egg-white protein instead of whey if you prefer a different protein source, but adjust liquid as powders absorb differently. Coconut flakes can replace some oats for a lighter texture, but reduce the amount to avoid excessive dryness. If you prefer a less sweet bar, omit chocolate chips and add toasted nuts or seeds for crunch. For a coconut-chocolate variation, stir in unsweetened cocoa powder and shredded coconut with a touch more milk. These swaps keep the formula flexible so your No-Bake Protein Bars reflect your tastes.
Healthy Option
To emphasize whole-food nutrition, choose a natural nut butter with no added sugar and a minimal-ingredient protein powder. Increase chia or flax seeds to bump omega-3s and fiber, and add a tablespoon of hemp seeds for a subtle nutty flavor plus more complete protein. Reduce added sweetener by a quarter and enhance flavor with extra vanilla and a pinch more sea salt to maintain balance. Add a few teaspoons of unsweetened cocoa powder for antioxidant richness without much sugar. Mix in freeze-dried fruit pieces for intense flavor with less sugar than syrup-soaked dried fruit. These healthy No-Bake Protein Bars serve as a satisfying snack that supports steady energy and nutrient density.
Pairings and Serving Suggestions
No-Bake Protein Bars pair beautifully with simple drinks and light meals. Serve one with a cup of black coffee or green tea for a morning pick-me-up, or pair a bar with a small Greek yogurt bowl for an after-gym refuel. Crumble a bar over smoothie bowls for texture, or serve halves alongside sliced apples for a balanced midday snack. For kids’ lunchboxes, wrap bars individually in parchment for easy grab-and-go. During autumn or holiday gatherings, present them with spiced tea or warm apple cider. If you want a dessert-style pairing, place a bar next to a small scoop of frozen yogurt. For seasonal inspiration and an indulgent sibling recipe idea, try pairing flavors similar to these Caramel Apple Cheesecake Bars for fall-themed spreads: Caramel Apple Cheesecake Bars.
Storage and Make Ahead Tips
No-Bake Protein Bars keep well if stored properly. Refrigerate bars in an airtight container and consume within a week for peak texture and freshness. For longer storage, freeze bars in single layers separated by parchment; they thaw to sliceable texture within 30 to 60 minutes at room temperature. Make a double batch and freeze half to maintain variety without daily baking. If you intend to stack bars in the container, place parchment between layers to prevent sticking. When traveling, keep bars chilled in an insulated lunchbox with an ice pack to preserve shape and firmness. If bars soften after sitting at room temperature, pop them back in the fridge for 15 to 20 minutes to re-firm.
Nutrition and Health Benefits
This recipe combines complex carbohydrates, protein, and healthy fats to create a satiating snack. Rolled oats provide fiber and sustained energy, protein powder increases muscle repair and fullness, and nut butter delivers monounsaturated fats and vitamin E. Chia or flax seeds contribute omega-3 fatty acids and additional fiber for digestion. Using natural sweeteners and modest portion sizes keeps added sugars reasonable. For athletes, these No-Bake Protein Bars can be a quick pre- or post-workout option to help glycogen replenishment and muscle recovery. For specific dietary needs, please consult a qualified health professional. Adjust ingredients to match caloric and macronutrient goals if you track nutrition strictly.
Mistakes to Avoid
Common pitfalls with No-Bake Protein Bars include using too much protein powder, which can dry out the mixture, and under-pressing the pan, which leads to crumbly bars. Avoid substituting liquid sweeteners with dry sweeteners; they won’t bind properly. Overloading the mix with dry add-ins like coconut flakes or extra oats can make the bars brittle balance with an extra tablespoon or two of nut butter or milk. Don’t skip the refrigeration step thinking the bars will set at room temperature; they need cold to firm. If bars are overly sticky, chill the pan longer and slice with a hot, damp knife for cleaner edges. These small corrections save time and waste.
Hosting and Presentation Tips
When serving No-Bake Protein Bars at a gathering, presentation elevates a humble snack. Cut bars uniformly and arrange them on a wooden board with small bowls of toppings like chopped nuts, cocoa nibs, or dried cherries for guests to sprinkle. Label flavor variations clearly so people with allergies can choose safely. For brunch or buffet style, halve bars and serve with toothpicks for easy picking. Wrap bars individually in wax paper and tie with twine for thoughtful take-home treats. Use seasonal garnishes such as a dusting of cinnamon in fall or a few fresh berries in summer to make the display feel fresh and inviting.
Personal Closing Thought and Call to Action
I hope these No-Bake Protein Bars become a reliable staple in your snack rotation. They are a practical solution for busy days, spontaneous guests, or when you simply want a controlled sweet that fuels rather than crashes. Try swapping flavors and recording your favorite combos so you can recreate them quickly. If you make a batch, tag KozinaRecipes on social media and share which variation you loved most. Happy mixing, pressing, and snacking.
Conclusion
If you want more no-bake ideas or a slightly different approach to quick bars, take inspiration from the Quick ‘n Easy No-Bake Protein Bars – Oh She Glows for another popular version that emphasizes simple, accessible ingredients: Quick ‘n Easy No-Bake Protein Bars – Oh She Glows.
FAQ
What is the preparation time for this recipe?
The preparation time usually takes about 15 to 20 minutes, depending on your experience and kitchen equipment.
Can I substitute any ingredients?
Yes, ingredient substitutions are possible depending on dietary needs or availability.
Is this recipe suitable for specific diets?
This recipe can be adapted for several dietary preferences with simple adjustments.
How should leftovers be stored?
Leftovers should be stored in an airtight container in the refrigerator and consumed within 2 to 3 days.
Can I prepare this recipe in advance?
Many steps can be prepared ahead of time to simplify busy cooking days.

Chewy, Chocolatey No-Bake Protein Bars
Quick, no-bake protein bars that are chewy, chocolatey, and ideal for snacks or post-workout refuels.
- Total Time: 120 minutes
- Yield: 10–12 bars 1x
Ingredients
- 2 cups rolled oats
- 1 cup protein powder (any flavor)
- 1 cup nut butter (almond or peanut butter)
- 1/2 cup honey or maple syrup
- 2 tablespoons chia seeds or flax seeds (optional)
- 1/3 cup mini chocolate chips or dried fruit (optional)
- 1 teaspoon vanilla extract
- 1/4 teaspoon sea salt
- 2 to 4 tablespoons milk or non-dairy alternative (as needed for consistency)
Instructions
- In a large mixing bowl, combine rolled oats, protein powder, chia or flax seeds (if using), and sea salt.
- In a separate bowl, whisk together nut butter, honey or maple syrup, and vanilla extract until smooth.
- Pour the wet ingredients into the dry ingredients and stir until a thick, sticky mixture forms. Add milk a tablespoon at a time if needed to help bind.
- Fold in mini chocolate chips or dried fruit if desired.
- Press the mixture firmly into a parchment-lined baking dish or pan, spreading evenly.
- Refrigerate for 1 to 2 hours until firm.
- Once set, slice into 10 to 12 bars and store in an airtight container.
Notes
For a firmer bar, use chilled nut butter and slightly less milk; for softer bites, increase the milk by a tablespoon.
- Prep Time: 15 minutes
- Cook Time: 0 minutes
- Category: Snack
- Method: No-Bake
- Cuisine: American
Nutrition
- Serving Size: 1 bar
- Calories: 250
- Sugar: 10g
- Sodium: 150mg
- Fat: 10g
- Saturated Fat: 1g
- Unsaturated Fat: 6g
- Trans Fat: 0g
- Carbohydrates: 30g
- Fiber: 5g
- Protein: 12g
- Cholesterol: 0mg