
In this article:
- Why These Chocolate Fruit Donuts Hold Together
- A Clean Snap, Then Cold and Juicy
- No Oven, No Fryer, and the Fridge Does the Work
- Lighter Rings and Dairy Free Swaps
- Chocolate Fruit Donuts Ingredients
- Making Chocolate Fruit Donuts, Layer by Layer
- Dry Fruit, Gentle Heat: The Rules That Decide Everything
- Other Fruits, Other Chocolates, Same Mold
- Serve Them Cold, Store Them Briefly
- The Prettiest Thing Your Fridge Has Ever Set
- Chocolate Fruit Donuts Questions
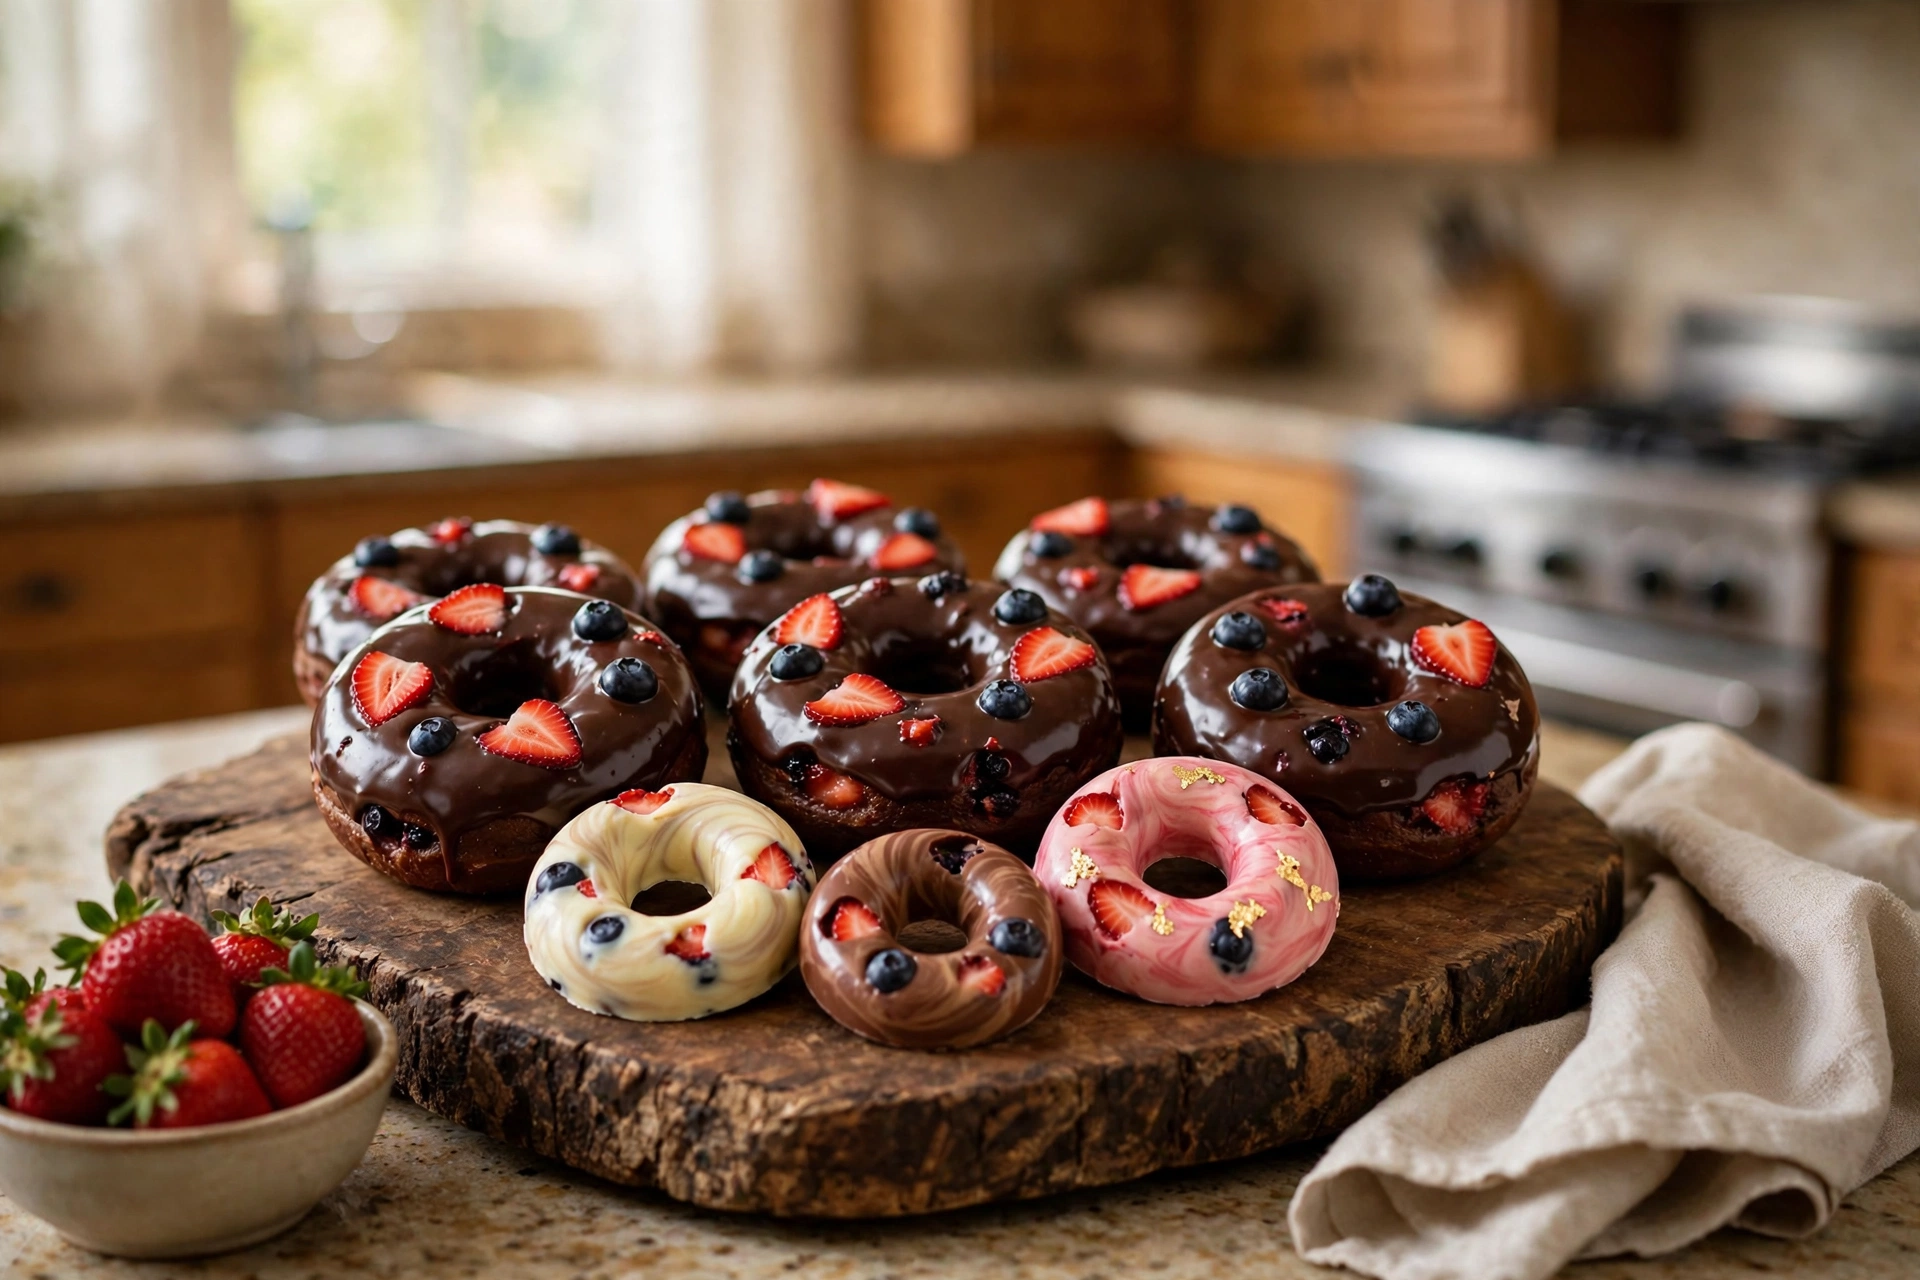
Chocolate fruit donuts are the rare viral dessert that survives contact with a real kitchen: fresh strawberries and blueberries tucked into a silicone mold, covered with marbled chocolate, and chilled until the rings turn glossy and firm. There is no dough hiding inside. The chocolate is the donut.
That is exactly why they work at home. A bakery donut asks for yeast, proofing, hot oil and timing. These rings ask for a mold, three bowls of melted chocolate and a cold shelf in the fridge. The shaping, the setting and most of the beauty are done by the equipment, not by your skill.
This version fixes the gaps the short videos leave behind. You get a full batch of twelve rings instead of six, the pink layer from the original reel, exact chilling times, and a fruit drying step that keeps the chocolate smooth instead of seized and grainy.
Watch it made
Why These Chocolate Fruit Donuts Hold Together
Chocolate fruit donuts hold together because chocolate is a structure, not a sauce. Melted chocolate flows into every gap between the berries, and once it cools, the cocoa butter sets into a firm network that locks the fruit in place like stones in a wall.
The fruit goes into the mold first, and that order matters more than any other choice. The mold works upside down: whatever touches the silicone becomes the face of the finished ring. Strawberry wedges pressed against the wall reappear on top, bright and glossy, the moment you unmold.
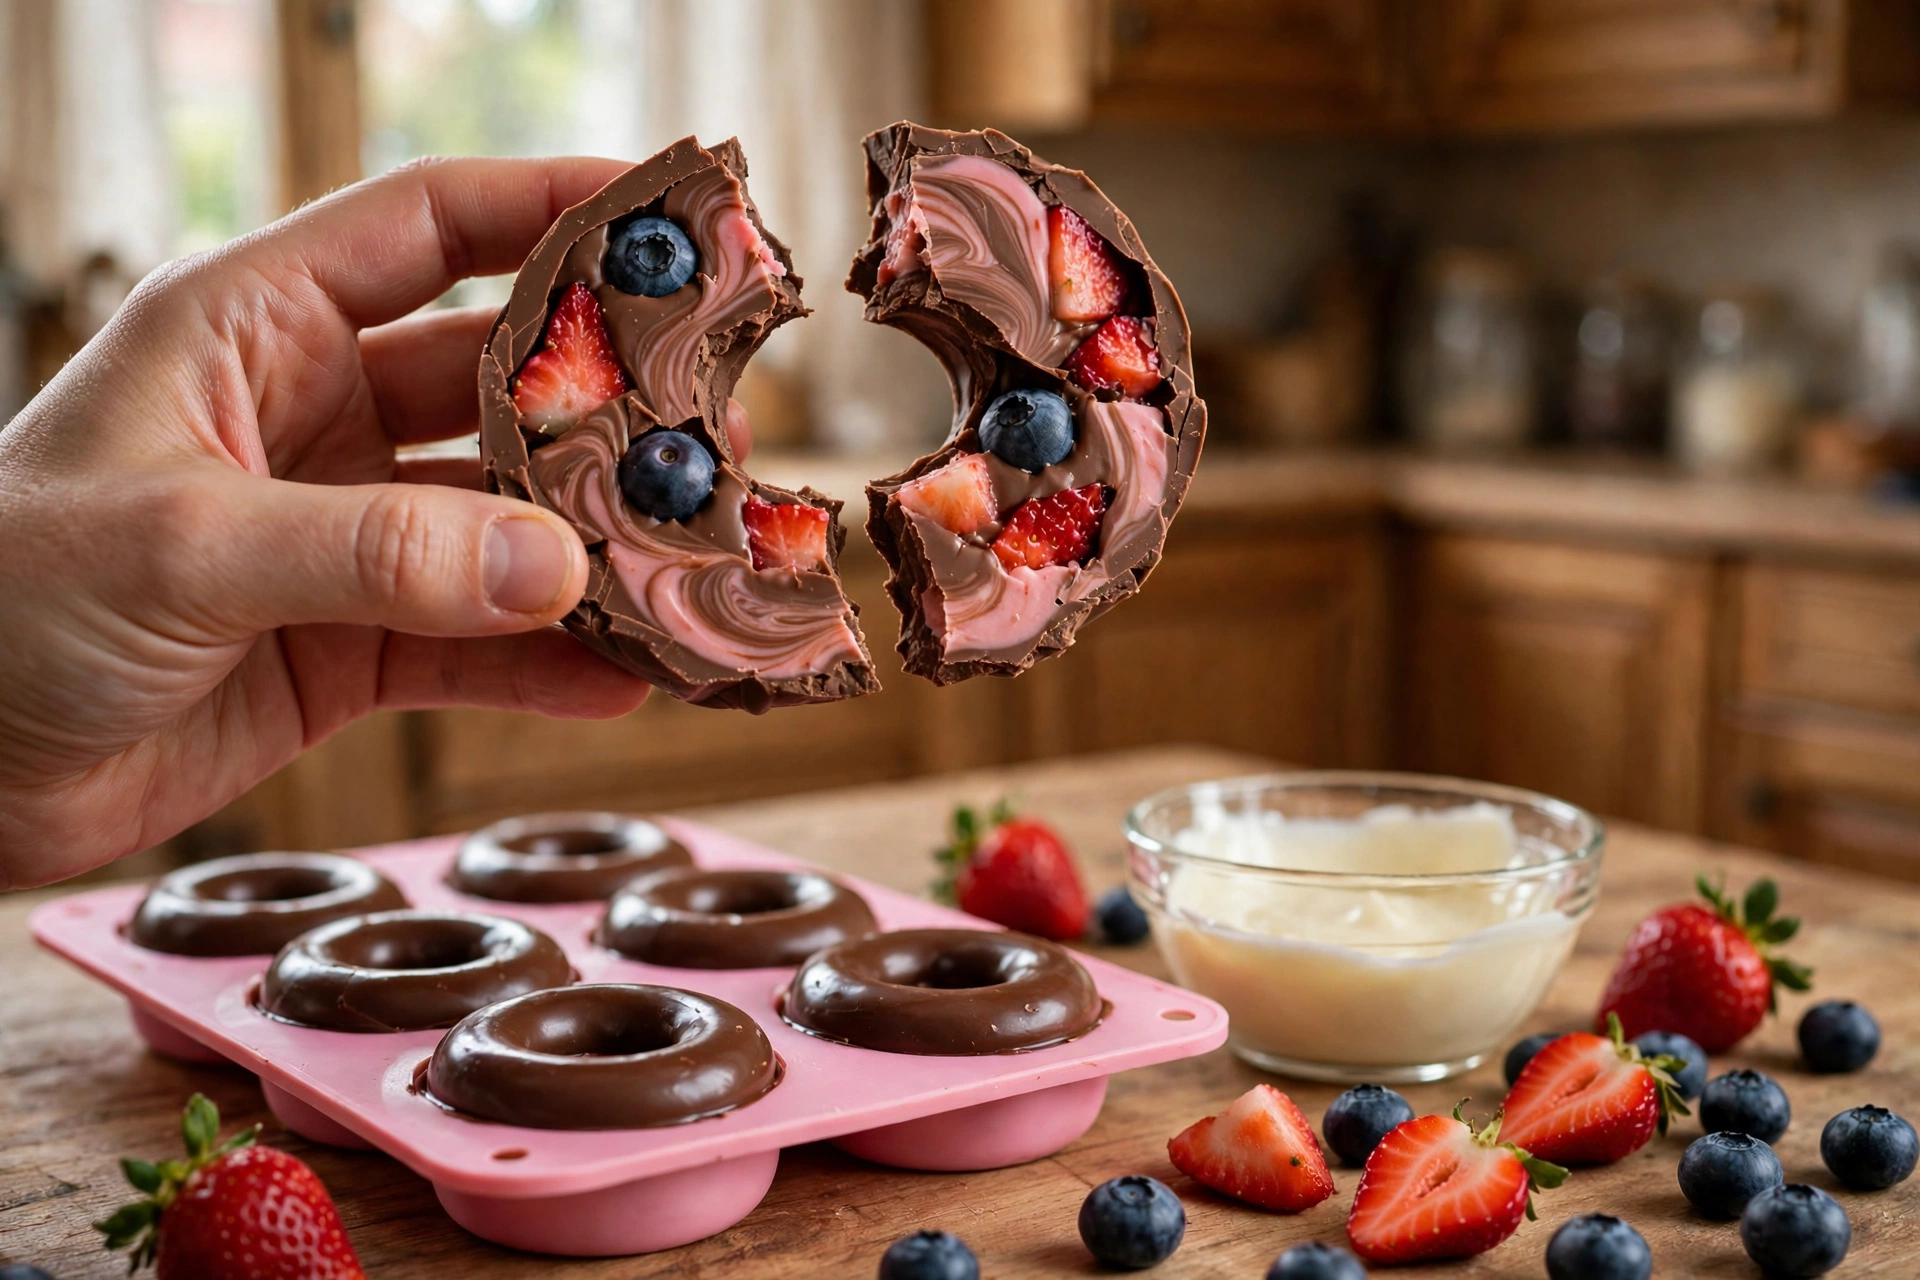
Three chocolates are piped in layers rather than poured in one go. White chocolate settles around the fruit and fills the fine gaps. Milk chocolate builds the body of the ring. Ruby chocolate finishes the back with its natural pink color and a gentle berry tang of its own.
A single pass with a toothpick pulls the three layers into soft marbling. One pass is the whole secret. Stir more than that and the colors blur into a flat beige, and the rings lose the swirled look that makes people reach for them first.
A teaspoon of coconut oil in each bowl keeps the melted chocolate fluid enough to pipe cleanly and settle around small blueberries. It is optional, but it buys you working time, and working time is what separates a calm assembly from a rushed, lumpy one.
Finally, the chill does the quiet work. Forty five minutes in the refrigerator lets the cocoa butter set slowly and evenly, which is what gives the rings their shine and their snap. A freezer shortcut works too, and the timing for both is in the steps below.
A Clean Snap, Then Cold and Juicy
The first bite is a sound before it is a flavor. The shell cracks with a clean, quiet snap, and then the cold fruit arrives all at once: a strawberry wedge, still juicy, and a blueberry that pops between your teeth.
Each chocolate brings something different to that bite. White chocolate is sweet and creamy, almost like a frosting that set. Milk chocolate is mellow and familiar. Ruby chocolate leans fruity and lightly tart, so it echoes the berries instead of covering them.
Temperature is the third flavor here. Eaten straight from the fridge, the rings taste bright and refreshing, closer to a chocolate bar pulled from a cold pantry than to a pastry. Let one sit out for ten minutes and the chocolate softens, turning richer and sweeter.
If you love the way white chocolate plays against tart fruit, the same pairing shows up in baked form in our white chocolate cranberry cookies, where the berries are dried instead of fresh. The contrast is softer there. Here it is vivid, cold and immediate.
The gold leaf, when you use it, adds no flavor at all. It is pure ceremony: a few bright flakes on the pink and white rings that make a simple fridge dessert look like it came from a chocolate shop window.
No Oven, No Fryer, and the Fridge Does the Work
Hands on time is about twenty five minutes, and most of it is arranging fruit. There is no batter to mix, no dough to rest and no oil to heat, which makes these rings realistic on a weekday afternoon or an hour before guests arrive.
The mold holds six rings, so the recipe uses two molds and fills them in one session. While the first tray chills, there is nothing left to wash except three bowls and a spatula. Compare that with a batch of fried donuts and the cleanup alone explains the trend.
They also travel well for something so delicate. Kept cold in a single layer, the rings go to picnics, dessert boards and holiday tables without slumping. For a baked ring instead, our baked apple cider donuts fill that spot, warm and spiced. These stay cold, glossy and fruit forward.
Lighter Rings and Dairy Free Swaps
Swapping the milk and white layers for dark chocolate at seventy percent lowers the sugar and deepens the flavor against the fruit. The method does not change at all, though dark chocolate sets a little firmer, so give the rings five extra minutes at room temperature before serving.
For a dairy free batch, choose dairy free chocolate in all three layers and keep the coconut oil, which helps the leaner chocolate pipe smoothly. Check the label on the ruby style chocolate, since some pink chocolates contain milk and others do not.
Smaller molds make a lighter portion without any recipe math. Mini donut molds turn the same batch into about twenty four small rings, each one a two bite treat, and the chill time drops to about thirty minutes because the chocolate layer is thinner.
Honesty matters here: this is still chocolate and fruit, not a health food. What the fruit does is real, though. It replaces part of the chocolate in every bite, adds fiber and freshness, and keeps a sweet ring from feeling heavy.
Chocolate Fruit Donuts Ingredients
Everything here is chosen for the mold. The fruit must be ripe but firm, the chocolate must be real chocolate that you enjoy eating plain, and the quantities are written for two standard six cavity silicone donut molds.
- 1 1/4 cups (200 g) white chocolate, finely chopped
- 1 1/4 cups (200 g) milk chocolate, finely chopped
- 1 cup (150 g) ruby chocolate, finely chopped
- 3 teaspoons (15 g) coconut oil, divided, optional
- 1 1/2 cups (250 g) sliced fresh strawberries, from about 12 medium berries
- 1 cup (150 g) fresh blueberries
- 2 sheets edible gold leaf, optional
Making Chocolate Fruit Donuts, Layer by Layer
Read the steps once before you melt anything. Melted chocolate waits for no one, so the fruit, the molds and the piping bags should all be ready before the first bowl warms up.
- Set two 6 cavity silicone donut molds on a flat baking sheet that fits your refrigerator. Wash the strawberries and blueberries, pat them dry with paper towels, then spread them on a fresh dry towel for 15 minutes. Any surface water can seize the chocolate.
- Slice the strawberries into thin wedges about 1/4 inch thick, keeping the pieces small enough to sit inside the mold cavities. Leave the blueberries whole. Small, even fruit pieces are what let the finished rings release cleanly.
- Arrange the fruit in each cavity. Lean the strawberry wedges against the outer wall of the mold with the cut side facing the silicone, then tuck blueberries into the gaps. Use about 2 tablespoons (30 g) of fruit per cavity. Whatever touches the mold becomes the face of the ring.
- Melt the white chocolate with 1 teaspoon (5 g) of the coconut oil in a heatproof bowl over barely simmering water, or in the microwave at half power in 30 second bursts. Stir until completely smooth and keep it under 110°F. Spoon it into a piping bag and snip a small opening.
- Pipe the white chocolate over the fruit in all 12 cavities, filling each one about one third full. Lift the baking sheet and tap it firmly on the counter 4 or 5 times so the chocolate settles around the fruit and any air bubbles rise and pop.
- Melt the milk chocolate with 1 teaspoon (5 g) of coconut oil the same way. Pipe it over the white layer until each cavity is about two thirds full, then tap the sheet on the counter again. This second layer gives the rings their strength.
- Melt the ruby chocolate with the last 1 teaspoon (5 g) of coconut oil. Pipe it to the top of each cavity. Drag a toothpick once through each ring in one slow circle to marble the three layers. One pass only, or the colors blur together.
- Chill the molds for 45 minutes in the refrigerator, or 20 minutes in the freezer, until the chocolate looks set at the edges and feels completely firm when you press the back of a cavity gently.
- Test one ring before unmolding the batch. Flex the silicone and push up from the bottom of one cavity. If the ring releases cleanly with a glossy face, unmold all 12 onto a sheet of parchment. If it resists, chill for 10 more minutes and test again.
- For the gold finish, lift tiny flakes of gold leaf with a dry soft brush or tweezers and press them gently onto the rings. Keep your fingers dry and off the chocolate, since gold leaf sticks to everything, including skin. Serve the rings cold.
Dry Fruit, Gentle Heat: The Rules That Decide Everything
Water is the enemy of this recipe, and it is not a figure of speech. A single wet blueberry can thicken a whole bowl of melted chocolate into a grainy paste. Dry the fruit, dry the bowls, dry the spatula. If chocolate does seize, take it off the heat and stir in hot cream a teaspoon at a time; that bowl becomes a sauce, and a fresh bowl becomes the coating.
Heat is the second rule. Chocolate melts happily between 100°F and 110°F and punishes anything hotter with a dull finish and pale streaks later. Work over barely simmering water, never a rolling boil, and stir often. If you want the full science and the seeding method for a truly snappy finish, the King Arthur guide to tempering chocolate is the clearest walkthrough we know.
Piping bags look like a fussy extra until you try spooning chocolate around forty small pieces of fruit. A bag gives you a thin, controlled stream that reaches the gaps without dragging the berries out of place. In a pinch, a zip top bag with one corner snipped works the same way.
Unmolding has one rule: flex, never pull. Silicone releases chocolate when you push from underneath and peel the mold away from the ring. Pulling on the ring itself snaps it at its thinnest point, which is always right where a strawberry sits.
Other Fruits, Other Chocolates, Same Mold
Raspberries and blackberries are the obvious next batch, and they behave exactly like the blueberries as long as they are dry and firm. Kiwi slices and mango cubes bring a tropical version that suits white chocolate especially well, though both fruits are juicier, so serve those rings the same day.
A single chocolate batch is calmer and just as pretty. All dark chocolate with strawberries reads elegant and grown up, while all white chocolate with mixed berries is the version children ask for. Readers who like chocolate built in layers also tend to love our classic peppermint bark, which uses the same layering logic in a flat sheet.
For a gift box, line a shallow box with parchment, set the rings in a single layer and add the gold leaf at the very end. Give the box the same day, while the fruit is still bright. It is the presentation from the viral videos, and it takes about four extra minutes.
One more direction worth trying: a thin smear of freeze dried strawberry powder dusted over the rings just before serving. It deepens the pink, adds a whisper of tartness, and photographs beautifully against the white chocolate rings.
Serve Them Cold, Store Them Briefly
Fresh fruit sets the clock on this dessert. The rings are at their best the day they are made, when the chocolate is glossy, the snap is clean and the berries are still firm and bright inside.
Leftovers keep for up to 2 days in the refrigerator, in a single layer in an airtight container with parchment between the rings and the lid. Expect the fruit to soften slightly and weep a little juice by the second day. The flavor stays lovely; the showpiece shine fades a bit.
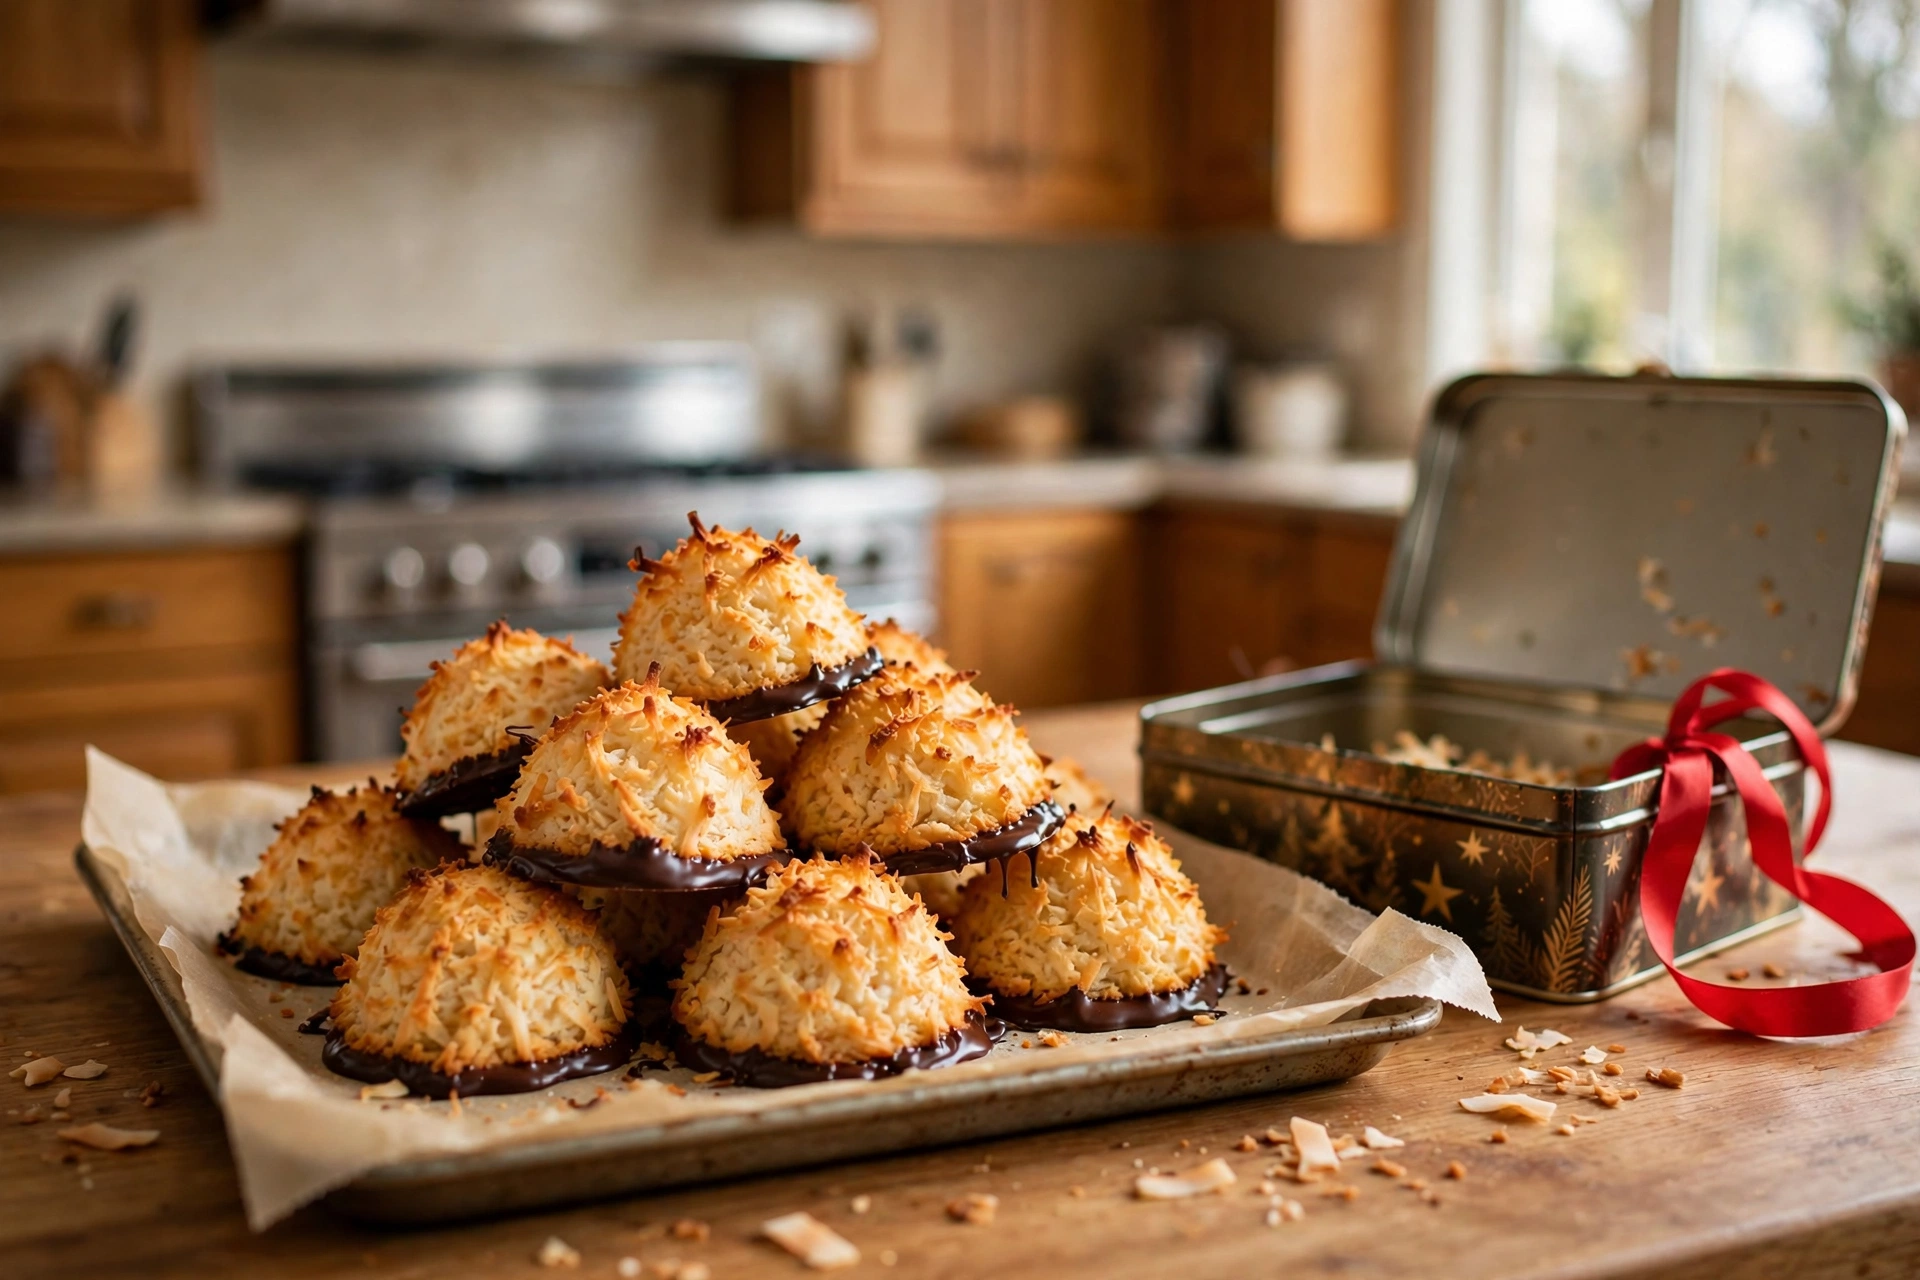
Freezing is possible but not kind to the fruit. Frozen and thawed berries turn soft and release water into the chocolate. If you freeze a few rings anyway, eat them half frozen like a bark, where the icy fruit tastes deliberate. For a no bake dessert built to wait patiently, our coconut macaroons dipped in chocolate keep far longer.
Make ahead strategy is simple: wash and dry the fruit in the morning, assemble the rings after lunch, and unmold them just before serving. The molds hold the rings safely for up to 8 hours in the fridge, protected from knocks and smells.
The Prettiest Thing Your Fridge Has Ever Set
Chocolate fruit donuts ask almost nothing of you: no oven, no dough, no special skill beyond drying fruit and melting chocolate gently. What they give back is a plate of glossy, marbled rings that look like they took all afternoon.
Make one batch exactly as written, learn how your molds behave, and then start playing with the fruit drawer. Around here, the pink ruby rings disappear first, and someone always asks which bakery they came from. Now you know the answer.
Chocolate Fruit Donuts Questions
Why did my melted chocolate turn thick and grainy when I added the fruit?
That is seizing, and water is almost always the cause. Even a little moisture left on the berries, or a wet spoon or bowl, makes melted chocolate clump and lose its shine. Dry the fruit for a full 15 minutes after patting it down, keep every tool dry, and if a bowl seizes, stir in hot cream a teaspoon at a time and use it as a sauce instead.
Can I freeze chocolate fruit donuts for later?
You can, but the fruit pays the price. Frozen strawberries and blueberries thaw soft and release juice into the chocolate, so the rings lose their clean snap and glossy face. They keep best in the refrigerator for up to 2 days. If you do freeze some, eat them half frozen, where the icy fruit tastes intentional, like a frozen chocolate bark.
My rings cracked when I took them out of the mold. What went wrong?
Two causes cover almost every crack. The top chocolate layer was too thin over a large piece of fruit, or the ring was pulled out instead of pushed. Chill the rings until completely firm, flex the silicone, and push up from the bottom of the cavity so the mold peels away. A thicker final layer and smaller strawberry wedges prevent most breaks.
What can I use instead of ruby chocolate for the pink layer?
Melt the same weight of white chocolate and whisk in 1 tablespoon (5 g) of freeze dried strawberry powder, which colors it pink and adds real berry flavor. A pinch of beet powder also works for color alone. Avoid liquid food coloring: it is water based, and even a few drops can seize a bowl of melted chocolate.
How long do the rings need to chill before unmolding?
Give them 45 minutes in the refrigerator or 20 minutes in the freezer. The reliable test is the back of the mold: the chocolate should feel completely firm and look set and matte at the edges. Test one ring first. If it resists or looks soft, another 10 minutes of chilling fixes it.
Chocolate Fruit Donuts
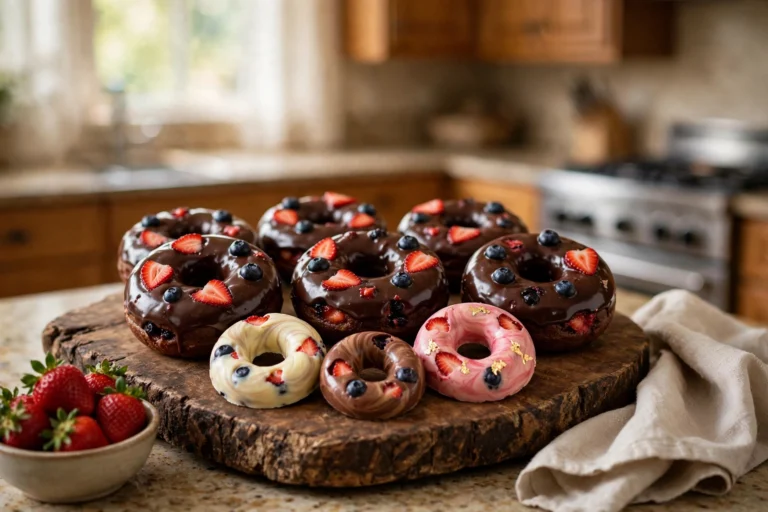
Fresh strawberries and blueberries arranged in silicone donut molds and covered with three piped layers of white, milk and ruby chocolate, marbled with a single toothpick pass and chilled until glossy and firm. No dough, no baking, and an optional finish of edible gold leaf.
- Total Time: 1 hour 10 minutes
- Yield: 12 chocolate rings 1x
Ingredients
1 1/4 cups (200 g) white chocolate, finely chopped
1 cup (150 g) ruby chocolate, finely chopped
3 teaspoons (15 g) coconut oil, divided, optional
1 1/2 cups (250 g) sliced fresh strawberries, from about 12 medium berries
1 cup (150 g) fresh blueberries
2 sheets edible gold leaf, optional
Instructions
Set two 6 cavity silicone donut molds on a flat baking sheet that fits your refrigerator. Wash the strawberries and blueberries, pat them dry with paper towels, then spread them on a fresh dry towel for 15 minutes. Any surface water can seize the chocolate.
Slice the strawberries into thin wedges about 1/4 inch thick, keeping the pieces small enough to sit inside the mold cavities. Leave the blueberries whole. Small, even fruit pieces are what let the finished rings release cleanly.
Arrange the fruit in each cavity. Lean the strawberry wedges against the outer wall of the mold with the cut side facing the silicone, then tuck blueberries into the gaps. Use about 2 tablespoons (30 g) of fruit per cavity. Whatever touches the mold becomes the face of the ring.
Melt the white chocolate with 1 teaspoon (5 g) of the coconut oil in a heatproof bowl over barely simmering water, or in the microwave at half power in 30 second bursts. Stir until completely smooth and keep it under 110°F. Spoon it into a piping bag and snip a small opening.
Pipe the white chocolate over the fruit in all 12 cavities, filling each one about one third full. Lift the baking sheet and tap it firmly on the counter 4 or 5 times so the chocolate settles around the fruit and any air bubbles rise and pop.
Melt the milk chocolate with 1 teaspoon (5 g) of coconut oil the same way. Pipe it over the white layer until each cavity is about two thirds full, then tap the sheet on the counter again. This second layer gives the rings their strength.
Melt the ruby chocolate with the last 1 teaspoon (5 g) of coconut oil. Pipe it to the top of each cavity. Drag a toothpick once through each ring in one slow circle to marble the three layers. One pass only, or the colors blur together.
Chill the molds for 45 minutes in the refrigerator, or 20 minutes in the freezer, until the chocolate looks set at the edges and feels completely firm when you press the back of a cavity gently.
Test one ring before unmolding the batch. Flex the silicone and push up from the bottom of one cavity. If the ring releases cleanly with a glossy face, unmold all 12 onto a sheet of parchment. If it resists, chill for 10 more minutes and test again.
For the gold finish, lift tiny flakes of gold leaf with a dry soft brush or tweezers and press them gently onto the rings. Keep your fingers dry and off the chocolate, since gold leaf sticks to everything, including skin. Serve the rings cold.
Notes
Dry fruit is the whole recipe: give the berries the full 15 minutes on a dry towel after patting them down, and keep bowls and spatulas dry, since a little water seizes melted chocolate. The rings are best the day they are made. Leftovers keep up to 2 days in the refrigerator in a single layer. Gold leaf goes on last, with dry hands or tweezers, right before serving.
- Prep Time: 25 minutes
- Cook Time: 0 minutes
Nutrition
- Calories: 270
- Sodium: 24
- Saturated Fat: 10
- Protein: 3
- Cholesterol: 9