
In this article:
Why This Peppermint Bark Recipe Works
Classic Peppermint Bark works because it treats chocolate with the respect it deserves instead of rushing it. Most recipes melt everything in the microwave and hope for the best, which is exactly why homemade bark so often turns out dull, soft, and sticky. This version uses the simple seeding method to temper the dark chocolate layer, so it sets with a glossy shine and snaps cleanly between your teeth. The white chocolate goes on while the dark layer is set but not cold, which locks the two layers together instead of letting them slide apart. A carefully measured half teaspoon of peppermint extract gives bright, cool flavor without tipping into that medicinal taste that ruins so many batches. Finally, the crushed candy canes go on last and stay crisp because the bark sets at room temperature, away from the fridge humidity that makes red stripes bleed.
Classic Peppermint Bark is the kind of Christmas candy that looks like it came from a specialty chocolate shop, yet it asks almost nothing of you. There is no oven, no candy thermometer anxiety, and no complicated technique standing between you and a tray of glossy, minty shards. The contrast is what makes it irresistible: deep, slightly bitter dark chocolate against creamy sweet white chocolate, finished with the icy crunch of crushed candy canes. It tastes like December feels, cold and bright and a little bit magical. One batch fills a whole gift tin, which means your holiday giving is basically handled in a single afternoon. Pair it with a tray of Christmas peppermint creams and your cookie boxes will look professionally curated. Keep reading and you will learn the small details that separate forgettable bark from the kind people ask about by name.
Flavor and Texture
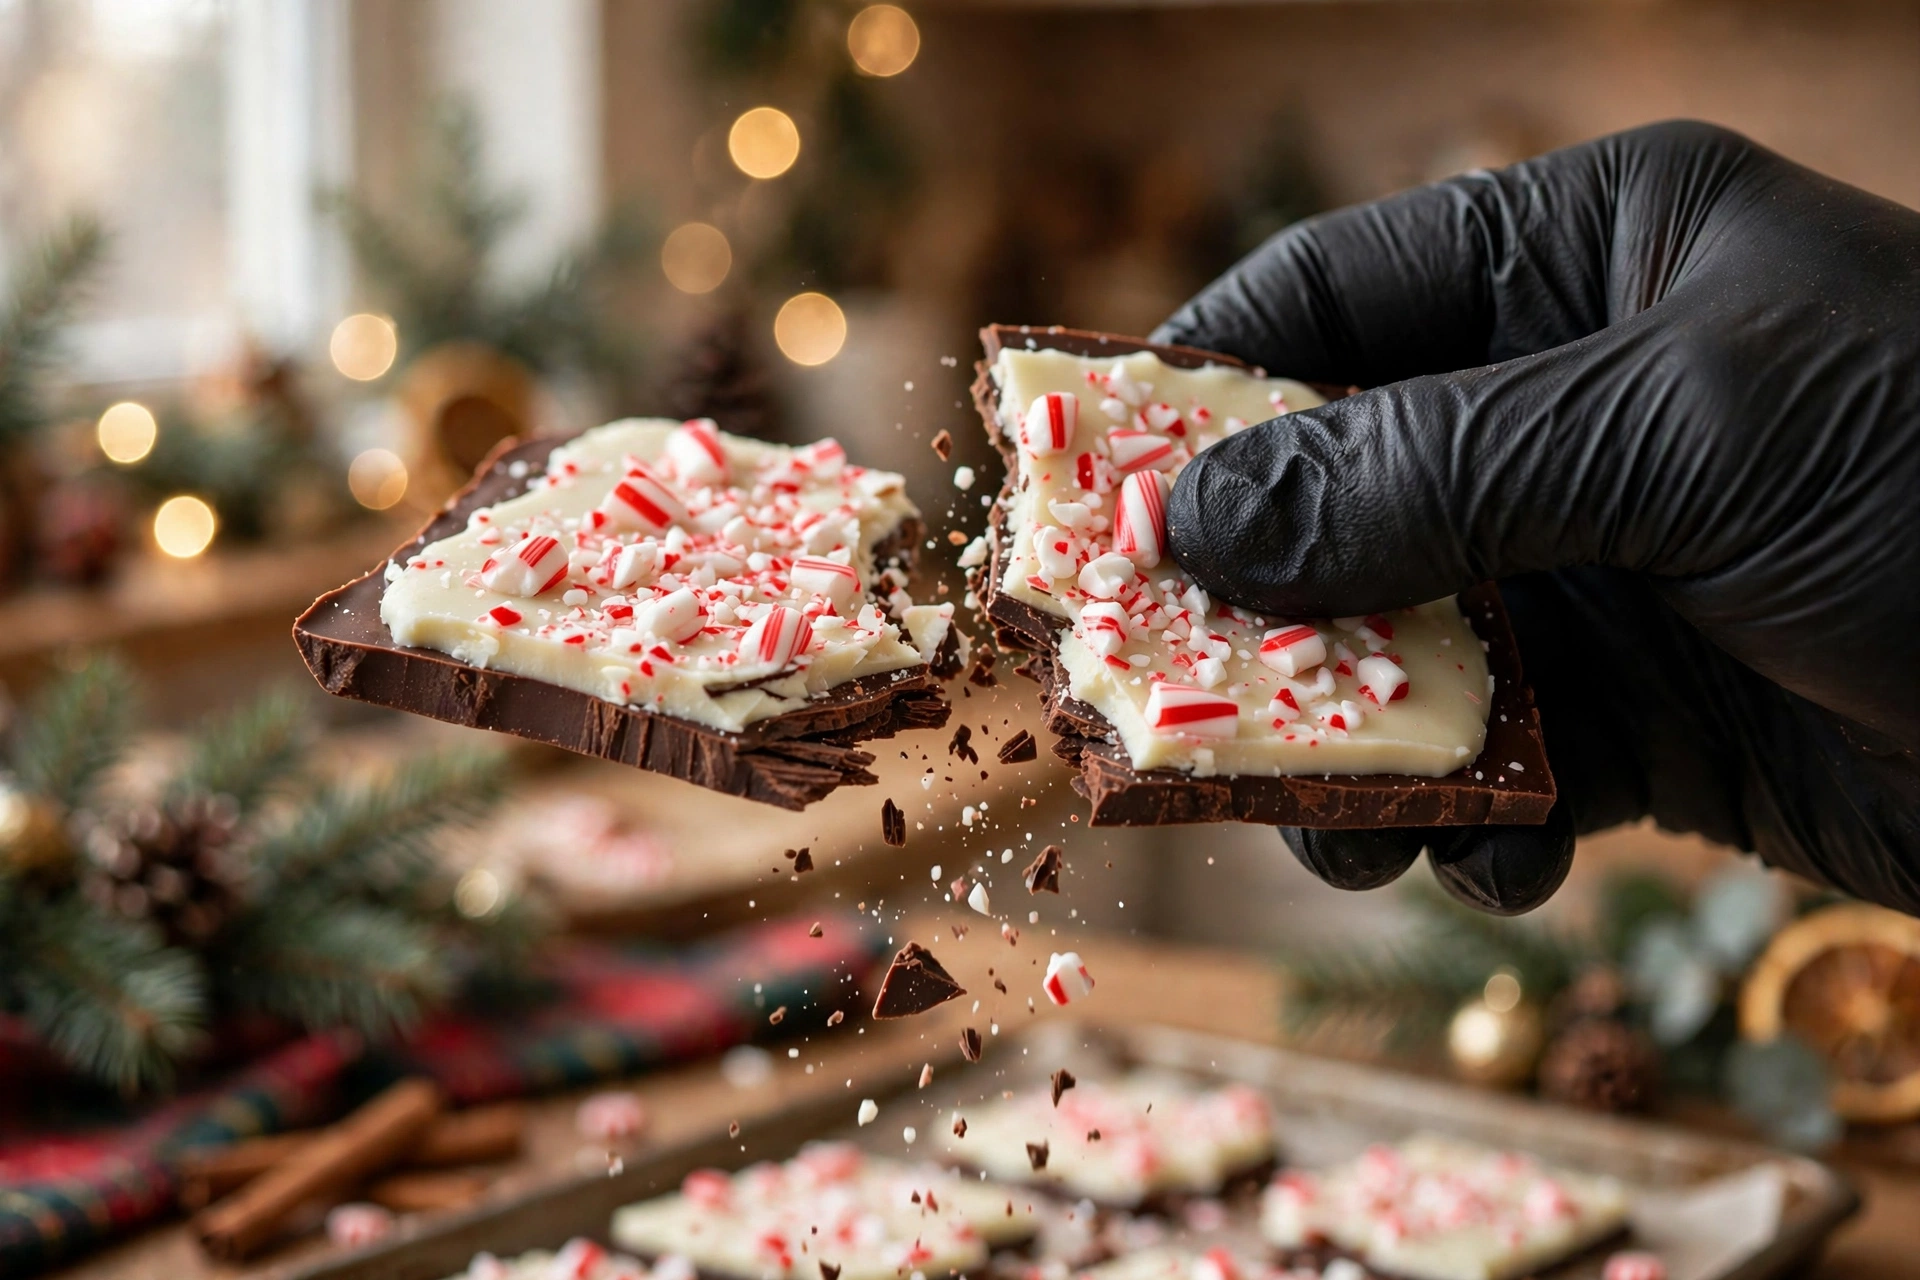
The first thing you notice is the snap. Properly tempered dark chocolate breaks with a clean, sharp crack that you feel as much as hear, and that single detail tells your palate that something special is coming.
Then the layers start to melt in sequence. The dark chocolate softens first with deep cocoa notes, slightly bitter, grounding everything. The white chocolate follows with milky sweetness and a whisper of vanilla that rounds off the darker edge.
The peppermint arrives last and coolest. It blooms across the palate like a breath of cold air, bright and clean, cutting through the richness of all that chocolate. This is why the dosage matters so much: half a teaspoon gives lift, while a heavy hand turns the whole thing medicinal.
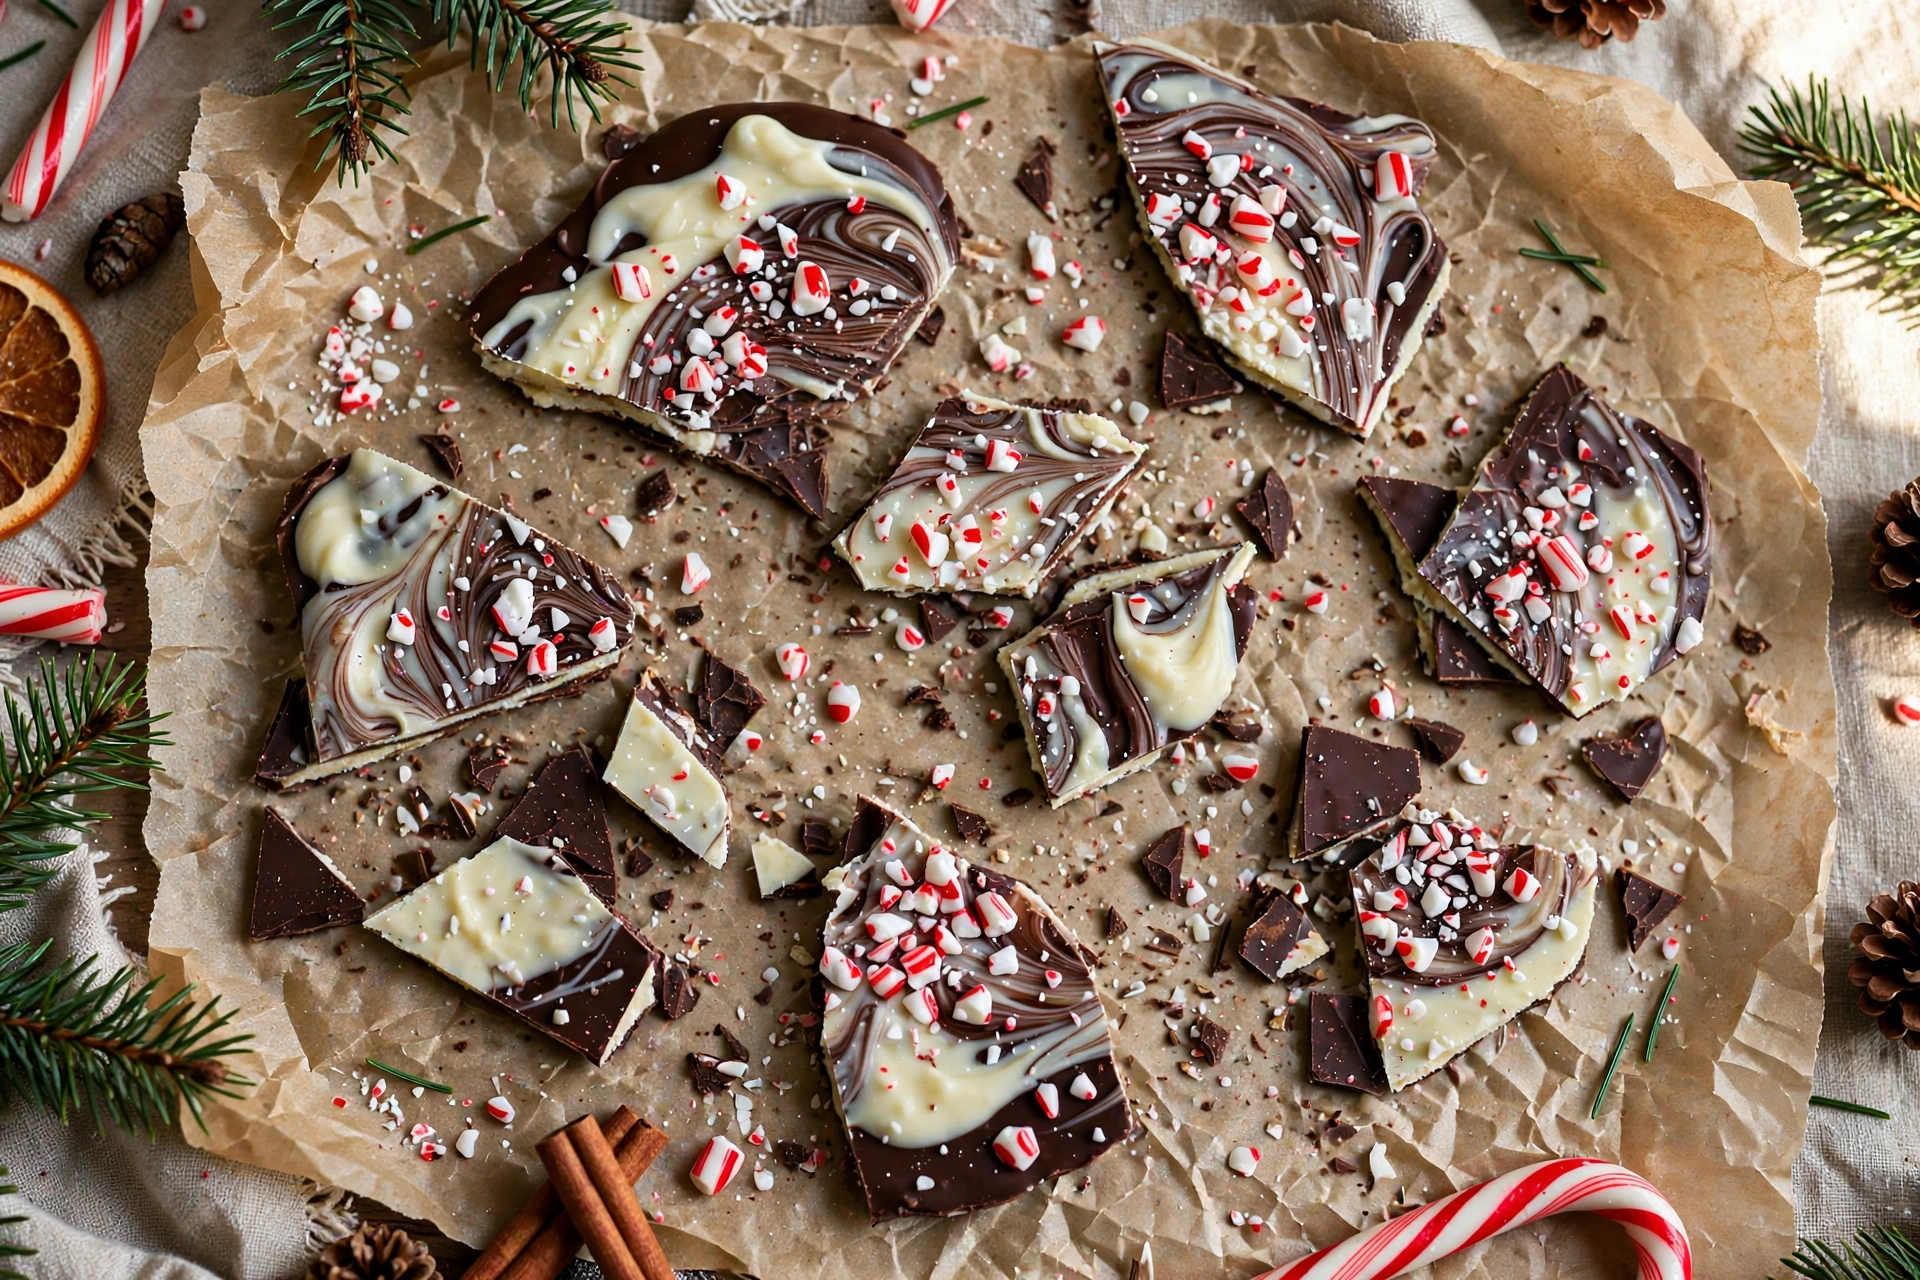
Crushed candy canes add the final texture. They stay distinct and crunchy against the smooth chocolate, with tiny pockets of intense minty sweetness. Their red and white flecks also make every piece look festive without any extra decorating.
Visually, it is pure holiday. Swirls of white over dark, jewel-like candy pieces catching the light, edges broken rustic and irregular. No two pieces look alike, and that handmade quality is exactly what makes it giftable. If you love this flavor pairing in other forms, our chocolate peppermint cookie cups deliver the same chocolate mint duo as individual treats.
Convenience and Time
This is a genuinely no-bake recipe, which already puts it ahead of most holiday candy. From chopping the first chocolate bar to breaking the finished slab, you need about fifteen minutes of active work.
The rest is waiting, and waiting is the easiest kind of cooking. The dark layer needs ten to fifteen minutes to set before the white chocolate goes on, and the finished bark needs about an hour at room temperature to firm up completely. You can fold laundry, wrap presents, or simply sit down during all of it.
Cleanup is almost suspiciously simple. One bowl, one spatula, one baking sheet, and a zip-top bag for crushing the candy canes. There is no sticky sugar syrup, no scorched caramel pot, no thermometer to wash.
It scales beautifully in both directions. Double everything for a big gift-giving operation, or halve it for a small household treat. The technique stays exactly the same, only the pan size changes.
Timing around the holidays is flexible too. Because the bark keeps for two to three weeks at room temperature, you can make it well before the Christmas rush. It is one of the rare holiday recipes that rewards planning ahead instead of punishing it.
Serve it after dinner with coffee, pack it into cookie boxes for neighbors, or set out a bowl at a party and watch it disappear. It also sits beautifully next to white chocolate cranberry blondies on a holiday dessert table. Few recipes deliver this much festive impact for fifteen minutes of effort.
Diet Friendly Options
Good news for anyone avoiding gluten: this recipe is naturally gluten free, since it contains only chocolate, peppermint, and candy. Just check your candy cane label, as a few brands add wheat-derived ingredients.
For a dairy free version, choose dairy free dark chocolate and dairy free white chocolate, both widely available now. The technique does not change at all, though dairy free white chocolate can be a little softer, so give the bark extra setting time.
If you are watching sugar, look for stevia or monk fruit sweetened chocolate bars in both dark and white. Sugar free candy canes exist too, and they crush just like the regular kind. The texture will be very close to the original.
Nut allergies are a non-issue here, which makes this bark a safe choice for school gifts and mixed party platters. No nuts appear anywhere in the ingredient list, and the recipe never shared equipment with them in your kitchen.
Vegan guests can enjoy the dairy free version without feeling like an afterthought. The glossy snap and minty crunch are identical, so nobody at the table gets a lesser treat.
Ingredients
- 12 ounces (340 g) good-quality semisweet or dark chocolate (60 to 65% cacao), chopped from bars, divided
- 12 ounces (340 g) good-quality white chocolate, chopped from bars
- 1/2 teaspoon pure peppermint extract (not mint extract)
- 5 to 6 standard candy canes (about 1/2 cup crushed)
- Flaky sea salt for sprinkling (optional, a tiny pinch)
Step by Step Instructions
- Line a quarter sheet pan or 9 by 13 inch baking pan with parchment paper, leaving overhang on two sides so you can lift the finished bark out easily. Set it near your work area.
- Place the candy canes in a sturdy zip-top bag, press out the air, and crush them with a rolling pin or the flat side of a meat mallet. Aim for a mix of small shards and fine bits, not powder. Set aside.
- Chop both chocolates into roughly half inch pieces and keep them in separate bowls. From the dark chocolate, set aside about 3 ounces (a generous handful) in a small bowl. This is your seed chocolate for tempering.
- Set a heatproof bowl over a saucepan with one inch of barely simmering water, making sure the bowl does not touch the water. Add the remaining 9 ounces of dark chocolate and stir gently until completely melted and smooth. Keep every drop of water and all steam away from the chocolate.
- Remove the bowl from the heat and wipe the bottom dry. Add the reserved seed chocolate a little at a time, stirring constantly until each addition melts. Keep stirring until the chocolate cools to about 88 to 90°F and feels just barely warm to the touch. It should look glossy.
- Pour the tempered dark chocolate onto the prepared pan and spread it into an even layer about one quarter inch thick with an offset spatula. Let it sit at cool room temperature for 10 to 15 minutes, until set but not cold to the touch. Do not refrigerate it.
- Meanwhile, melt the white chocolate in a clean, completely dry bowl, either over the same gentle double boiler or in the microwave in 20 second bursts, stirring between each. White chocolate scorches easily, so stop when a few small pieces remain and stir until smooth. Stir in the peppermint extract.
- Pour the white chocolate over the dark layer and spread gently to the edges. Drag a skewer or the tip of a knife lightly through the surface once or twice for a marbled look, but do not overdo it.
- Immediately sprinkle the crushed candy canes evenly over the surface and press them down very lightly with a sheet of wax paper so they stick. Add the tiny pinch of flaky salt now if using.
- Leave the bark undisturbed at cool room temperature for about 1 hour, until completely firm. Lift it out by the parchment overhang and break it into irregular pieces with your hands.
Tips and Tricks for Peppermint Bark Success
Tempering is the whole game, and the seeding method in this recipe makes it approachable. Melting only three quarters of the dark chocolate, then stirring in the reserved solid pieces, introduces the stable cocoa butter crystals that give snap and shine. If you want to see the method demonstrated with exact temperatures, this visual guide to tempering chocolate walks through the seeding method step by step. Stir patiently and do not rush this step, because those crystals are what separate great bark from dull bark.
Water is chocolate’s mortal enemy. A single drop makes melted chocolate seize into a stiff, grainy clump that cannot be rescued for bark. Dry your bowl, spatula, and hands thoroughly, and keep the simmering water well below the bowl so no steam sneaks in.
Mind the temperature gap between layers. If the dark layer goes into the fridge and gets ice cold, the warm white chocolate will contract at a different rate and the layers will separate when you break the bark. Set but not cold is the rule: firm to the touch, still at room temperature.
White chocolate needs gentler heat than dark. It scorches above about 105°F, turning yellow and grainy, so use short microwave bursts or very low double boiler heat. When in doubt, pull it early and let residual heat finish the melting.
Dose the peppermint with restraint. Half a teaspoon of pure peppermint extract is the sweet spot for 12 ounces of white chocolate. Peppermint oil is three to four times stronger than extract, so if you substitute oil, use just one eighth of a teaspoon or the flavor turns medicinal and soapy.
Crush the candy canes just before using them. Pre-crushed candy absorbs moisture from the air and goes sticky within days, which dulls both the crunch and the look. The bag and rolling pin method takes two minutes and gives the best texture.
For the cleanest marbling, drag your skewer through the white chocolate exactly once in each direction. Every extra pass muddies the swirl and blends the layers instead of marbling them. Less is genuinely more here.
If your kitchen runs warm, find the coolest spot in the house for setting, away from the oven and sunny windows. Chocolate sets best between 65 and 70°F. Above 75°F it may stay soft and refuse to release its shine.
Ingredient Swaps and Variations
Chocolate choice is the biggest lever for flavor. Semisweet gives the classic balanced bark, dark chocolate at 70% makes it more intense and less sweet, and milk chocolate creates a sweeter, creamier version that kids tend to love. Professional bakers prefer couverture chocolate for candy work because its higher cocoa butter content melts more smoothly and tempers more reliably. You can even do all white chocolate with the candy canes for a snow-white look.
No candy canes in the house? Hard peppermint candies crush exactly the same way and taste identical. In a pinch, starlight mints or any red and white mint candy work, just avoid anything with a chocolate or caramel center.
For texture lovers, fold-ins are fair game. Crushed sandwich cookies stirred into the white chocolate layer add crunch and a cookies-and-cream vibe. Toasted chopped pistachios or almonds bring a savory contrast, though they do add allergens to a nut free recipe, so label gifted batches clearly.
Peppermint extract versus oil deserves a clear rule. Extract is forgiving and easy to find, which is why this recipe calls for it. Oil is far more concentrated and also more volatile, so it is better suited to experienced candy makers. Never use mint extract, which tastes like toothpaste compared to true peppermint.
A tiny pinch of flaky sea salt on top is the quiet upgrade most people never try. Salt sharpens the chocolate flavor and makes the peppermint taste brighter, and the flakes add a delicate crunch. Skip it if you are gifting to very traditional tastes.
For a dressed-up gift version, drizzle a little extra melted dark chocolate over the finished bark in thin lines before it sets, or press a few whole mini candy canes upright into the surface. Small touches like these make the tin look professionally made.
Storage and Make Ahead
Classic Peppermint Bark keeps beautifully at cool room temperature for two to three weeks in an airtight container.
Keep it away from heat and humidity. Warm kitchens soften the chocolate and humid air turns the crushed candy sticky, which also makes the red stripes bleed into the white chocolate. A pantry or cool closet beats a countertop next to the stove.
Refrigeration is a backup plan, not the default. If your house runs above 72°F, the fridge will keep the bark firm, but wrap the container well and let the bark come back to cool room temperature before serving so the flavor opens up. Cold dulls both chocolate and peppermint.
For longer storage, freeze the bark for up to two months. Wrap portions tightly in plastic wrap, then seal in a freezer bag with the air pressed out. Thaw overnight in the refrigerator, still wrapped, so condensation forms on the wrapping instead of the chocolate.
This is a make-ahead dream for the holidays. Prepare full batches in late November or early December, and your edible gifts are done weeks before the rush. Just keep the containers sealed until you are ready to pack gift tins.
Conclusion
Classic Peppermint Bark proves that the most impressive holiday candy is often the simplest one, done with care. Tempered chocolate that snaps, cool peppermint that stays bright, candy canes that keep their crunch: none of it is difficult, it just asks for a little attention. Make a batch this weekend alongside our creamy eggnog cheesecake and your Christmas dessert spread is essentially finished. Once you taste the difference that proper tempering makes, the microwave shortcut will never tempt you again.
FAQ
Why did my white chocolate seize into a stiff, grainy clump?
Water got into it, even a single drop or a puff of steam from the double boiler. Melted chocolate seizes instantly on contact with water and cannot be smoothed back out for bark. Always use a completely dry bowl and utensils, keep simmering water well below the bowl, and wipe the bottom of the bowl before you start stirring in flavorings.
Why are my two chocolate layers separating when I break the bark?
The dark layer was too cold when the white chocolate went on. If the dark layer chills in the fridge, the warm white chocolate contracts at a different rate and the layers delaminate. Let the dark layer set at room temperature until firm but not cold, about 10 to 15 minutes, then pour the white chocolate over it.
Can I use chocolate chips instead of chopped bar chocolate?
You can, but the bark will not be as good. Chips contain stabilizers that help them hold their shape, which also makes them resist tempering, so the snap and shine suffer. Chopped bar chocolate or wafers melt smoothly and temper properly, which is the whole point of this recipe.
Why did the red stripes on my candy canes bleed into the white chocolate?
Humidity is the culprit, almost always from refrigerating the finished bark. Cold storage makes the candy absorb moisture, turn sticky, and bleed color. Set and store the bark at cool room temperature in an airtight container, and only refrigerate if your kitchen is genuinely warm.
How much peppermint extract is too much for peppermint bark?
More than 3/4 teaspoon per 12 ounces of white chocolate starts tasting medicinal. This recipe uses 1/2 teaspoon, which gives bright mint flavor without harshness. If you substitute peppermint oil, which is three to four times stronger than extract, use only 1/8 teaspoon. Never use generic mint extract, which tastes like toothpaste next to true peppermint.

Classic Peppermint Bark
Glossy, snappy peppermint bark with tempered dark chocolate, creamy white chocolate, and crushed candy canes. A no-bake Christmas candy that looks like a chocolate shop treat and makes a perfect edible gift.
- Total Time: 1 hour 15 minutes
- Yield: 24 pieces (about 1 1/2 pounds) 1x
Ingredients
- 12 ounces (340 g) good-quality semisweet or dark chocolate (60 to 65% cacao), chopped from bars, divided
- 12 ounces (340 g) good-quality white chocolate, chopped from bars1/2 teaspoon pure peppermint extract5 to 6 standard candy canes (about 1/2 cup crushed)Tiny pinch of flaky sea salt (optional)
Instructions
- Line a quarter sheet pan or 9 by 13 inch baking pan with parchment paper, leaving overhang on two sides for easy lifting.Place the candy canes in a sturdy zip-top bag, press out the air, and crush with a rolling pin into small shards and bits (not powder).Chop both chocolates into roughly half inch pieces and keep in separate bowls. Set aside about 3 ounces of the dark chocolate as seed chocolate.Melt the remaining 9 ounces of dark chocolate in a heatproof bowl over barely simmering water, stirring gently, keeping all water and steam away. Melt until smooth.Remove from heat, wipe the bowl bottom dry, and stir in the seed chocolate a little at a time until melted and the chocolate cools to about 88 to 90 degrees F and looks glossy.Pour the tempered dark chocolate onto the prepared pan and spread into an even layer about 1/4 inch thick. Let sit at cool room temperature 10 to 15 minutes, until set but not cold.Melt the white chocolate gently in a clean, completely dry bowl (double boiler or microwave in 20 second bursts), stopping when a few pieces remain and stirring smooth. Stir in the peppermint extract.Pour the white chocolate over the dark layer, spread gently to the edges, and drag a skewer lightly through once or twice for a marbled look.Immediately sprinkle the crushed candy canes evenly over the surface and press very lightly with wax paper. Add the pinch of flaky salt if using.Leave undisturbed at cool room temperature about 1 hour until completely firm. Lift out by the parchment and break into irregular pieces.
- Prep Time: 15 minutes
- Cook Time: none